
It is one of the most basic DIY skills but one of the things I have never been comfortable doing on my own is drilling holes in my walls to hang up pictures and shelves.
Yes, people often mistakenly presume that because I write a blog called House Nerd that I am inherently practical and handy. I am actually more flaky and useless. My worst nightmare is being faced with an unassembled piece of IKEA furniture and one of those boring wordless manuals with the smug-looking little man. Just looking at the first page makes me feel like bursting into tears of boredom.
As my nearest and dearest know, I like to pin the blame for each of my shortcomings (such as my lack of patience) on others. So my inability to drill holes in a wall can be attributed to my parents. My sisters and I grew up with my mum and dad constantly warning us about ‘leaving holes in the walls’ or ‘making marks on the paint’. They hated anything that left a mark on the walls - nail, screw, stickytape, blu tack. (In fact, the use of blu tack to put up My Little Mermaid poster was a special treat. Or should I say “glue tack”, as my parents told me it was called, probably in an attempt to make it sound like a more scary and permanent commitment. I called it glue tack until someone in my Year 9 art class laughed at me).
My parents both hate painting, or anything DIY really, and for them I think there could be nothing more irksome than having to refinish and re-paint the pockmarked walls of our bedrooms. (I have since learned, a hole in the wall from removing a screw is really not that bad. It’s usually nothing a bit of Spackle and a sanding can’t fix).
What my parents probably thought my bedroom would look like if I was allowed to put up pictures.
Fast forward from my Little Mermaid poster years and I am 30 years and still beg other people, my husband, my father-in-law, my youngest sister, to hang pictures and shelves up for me. Because I am so scared I am going to do it wrong and also because I fear if it’s 5cm too much to the left it’s going to bug me for the rest of my life.
When Bosch asked if I would like to collaborate with them on their #WinterProject campaign, I was pretty stoked (we have an entire shed full of Bosch tools that we love) and I also knew it was time to face my wussy fear of drilling holes in my walls.
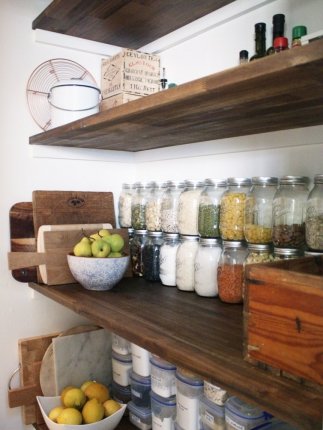
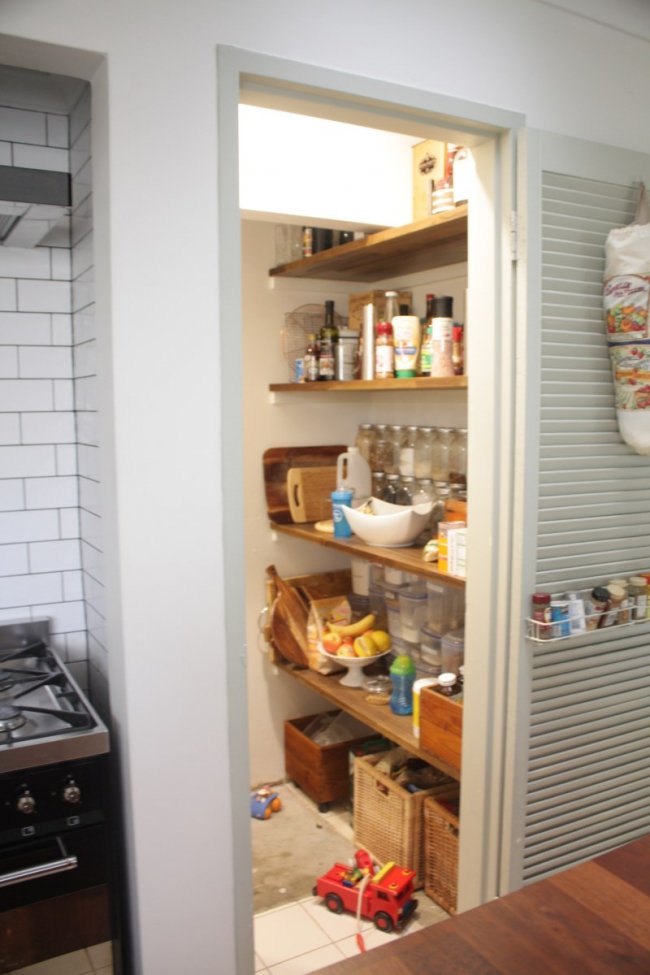
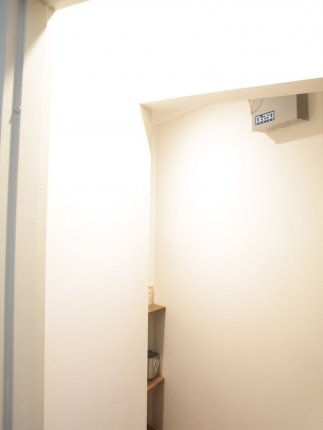
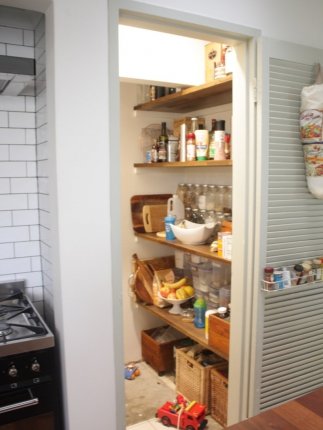
I also had the perfect project in mind. Remember a year ago when I shared our walk-in pantry makeover, where we turned our old 1970s bar into a walk-in pantry? I shared some pictures where it looked very nice and tidy.
WELL fast forward a year and a baby later and our cute, alphabetised pantry was now more mess than Pinterest. Little Nerd was going in there at his leisure, dragging things out and bum-shuffling them out of the pantry.
The top shelf was a jumble of spices and sauces that I had to rummage through on my tiptoes just to find an ingredient I wanted. I couldn’t even find nutmeg. You know you need to find some clarity in your home when you can’t even find the nutmeg. It was time to add a bit more storage and to get more organised. And because I know there are quite a lot of you guys who also don't know how to drill holes (like @chelsea.morning said, "Why didn't they teach us at school? It would have been so useful and empowering!") I thought I'd share my How To Drill Holes in Your Walls guide.

First I had to wait for the right time to get my DIY on. Mr Nerd was away racing his motorbike in Collie for the weekend. I could do DIY stuff to our house without him worryingly breathing over my shoulder. Excellent.
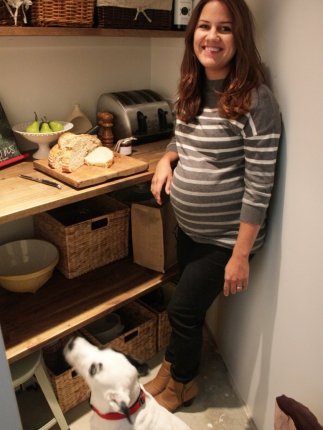
First I cleared everything off the top shelf off the pantry and put it on our kitchen benchtops. Woahhh.
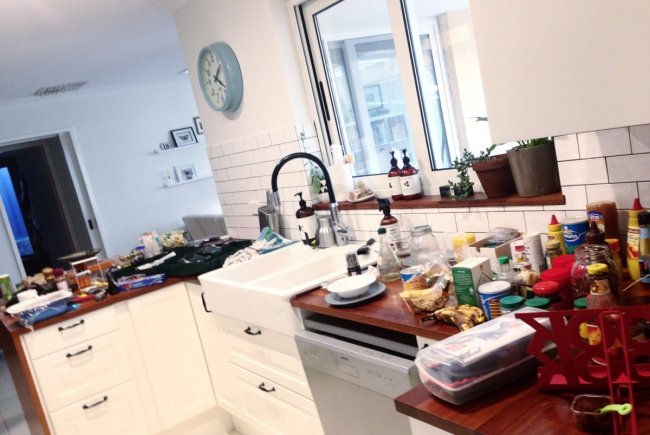
Mr Nerd was away for the weekend and sent me a text saying, "What are you up to?" so I snapped this photo for him. Though to be honest this is what our kitchen looks like every time I cook.
Clearing out our pantry made me guiltily realise that I’d been buying multiples of certain things we already had enough of. For some reason, I just kept buying the exact same spices. There were like six little bottles of paprika, three little bottles of cumin seeds, four little bottles of ground cumin. If it is true that our clutter and what we hoard reflects our subconscious fears in life, I must have some deep-seated fear that one day I will be faced with a situation where my Moroccan cookery needs will not be met. If there is ever a paprika or cumin shortage, come to my place. I’ll fix you up.
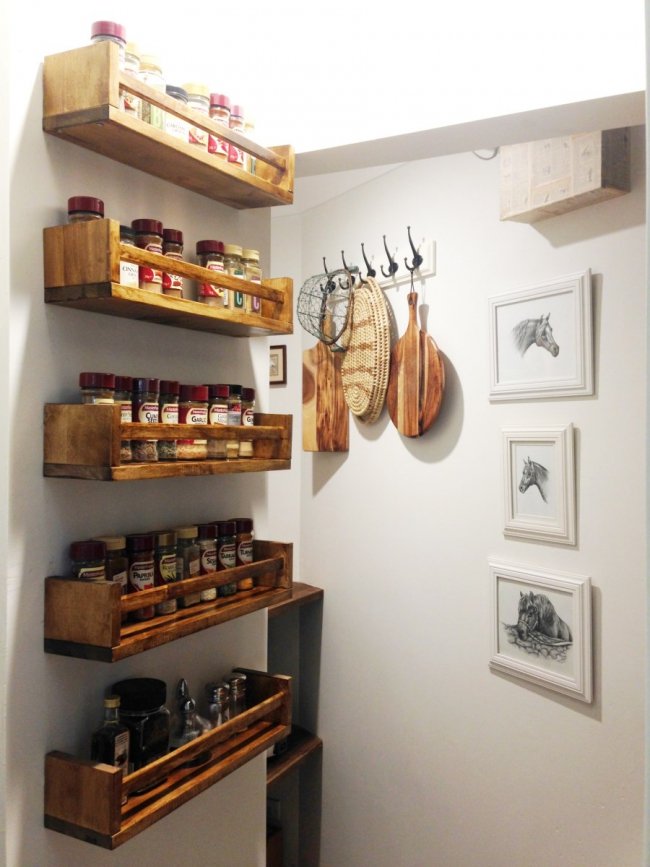
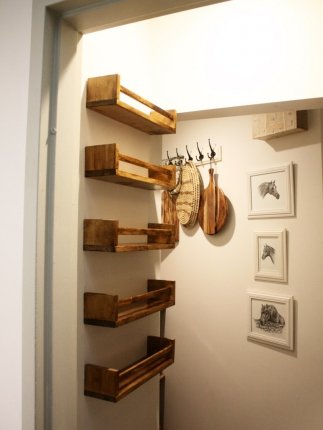
I decided to put up some IKEA Bekvam spice racks to display my cumin collection. I had seen the Bekvam spice racks all over Pinterest, they were cheap as chips, they were just the right size and they could be stained or painted.
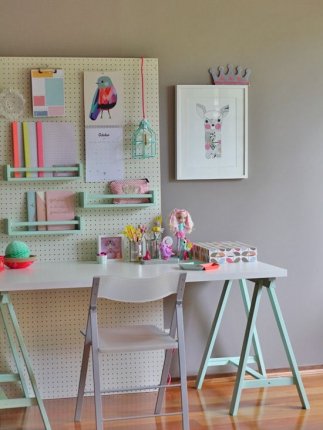
IKEA Bekvam spice racks on a pegboard in this kid's study space featured on Bondville, and a book nook from IKEA Hack.
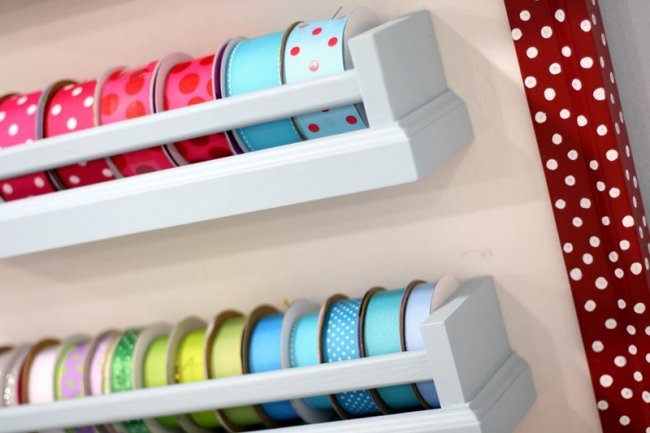
Bekvam shelves for ribbon and craft storage on 7 Layer Studio.

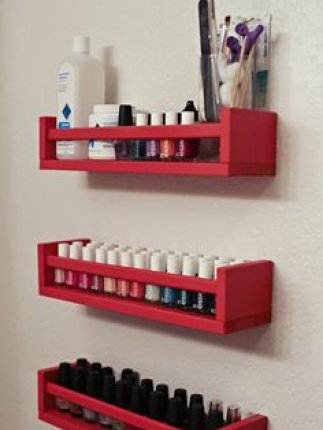
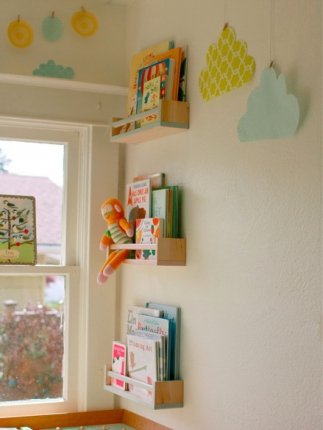
Bekvam spice racks acting as book shelves in this cute kid's room on Kidsmopolitan, and storing nail polish in this home on Apartment Therapy.
Bekvam shelves are meant as spice racks but there are all kinds of crafty people using them for all kinds of purposes, like for books and nail polish bottles and upside down for key storage.
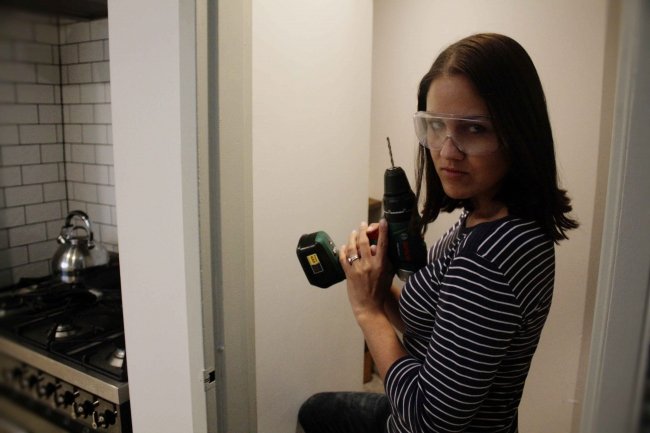
Then I called upon the help of a drill instructor, my youngest sister Simone.

Simone arrived promptly.
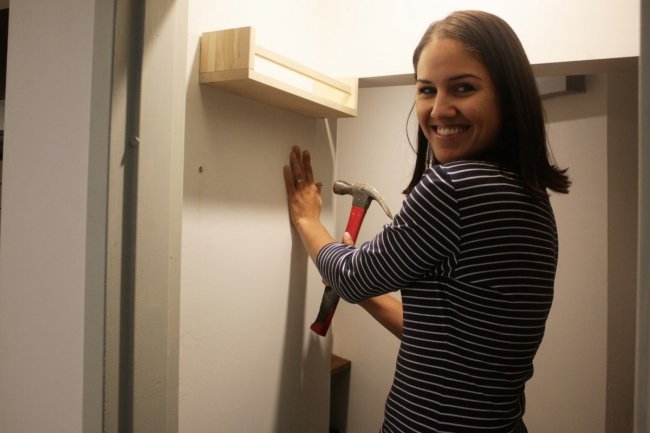
It was time to drill some holes in my walls!
HOW TO DRILL HOLES IN YOUR WALLS: A DUMMY’S* GUIDE
1. First rule of drilling – wear some sexy safety glasses. Tie back your hair if it’s long. And get some hearing protection. I am already deaf as a doorknob, so I just turn my hearing aids off and they double as earplugs. We can’t all be this lucky, so you may want to invest in some ear plugs or ear muffs.
2. Figure where you want your shelf (or framed picture) to hang. For my spice racks, I chose a wall where I knew there would be no electrical wires, cables or plumbing parts – you definitely don’t want to drill through anything important. You can use a studfinder if you are not sure. A studfinder is a little handheld device that locates framing studs within a wall.
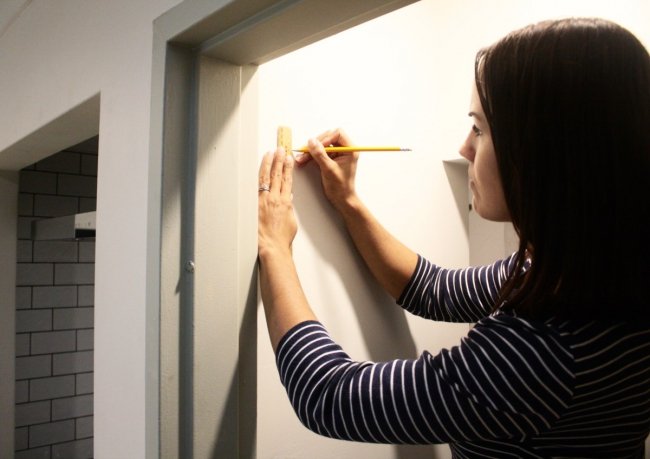
3. Use a spirit level to get your shelf or picture level. Once it is, mark the corners and the centre of your frame or shelf with a pencil.
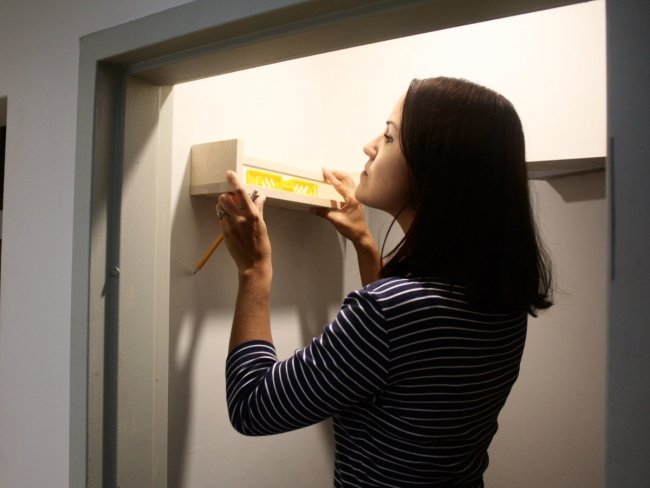
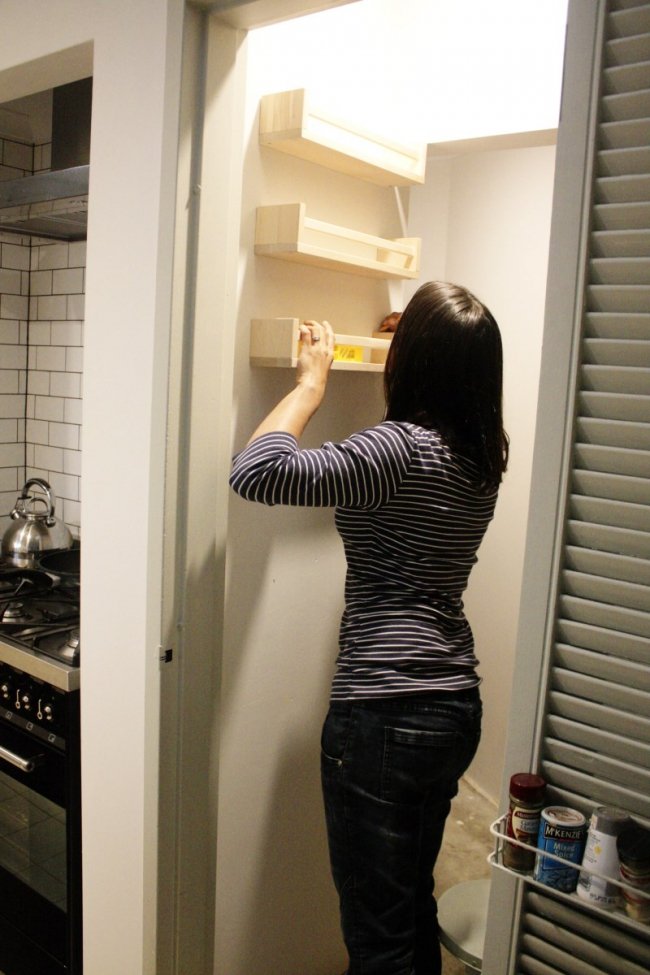
4. Figure out exactly where your drill hole will need to be. You can use a cross line laser or you can measure it out manually - I flipped the Bekvam shelves over and measured that the spots were the screws would go were 3cm from the top of the shelf and 1cm inwards, so I measured and marked these points on the wall.
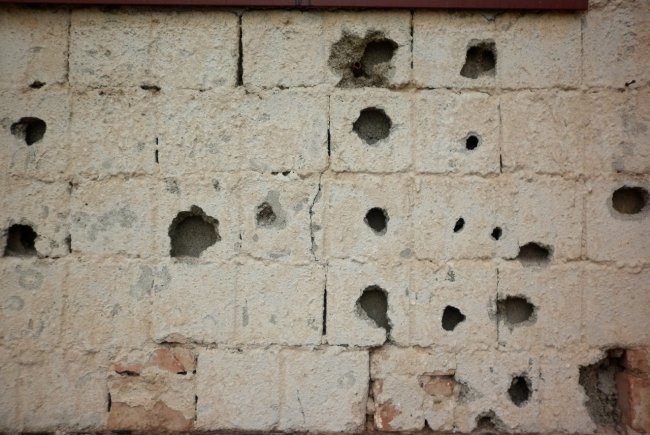
5. Choose your fixing. Different walls need different kinds of fixings. Generally speaking, hollow walls, such as plasterboard ones, need plugs with wings that will ‘anchor’ the plug in place while solid walls like bricks take bullet-shaped fixings, such as a plastic wall plug and screw.
The wall plug is the plastic part that you need to pop into the wall after drilling your hole so that when you put the screw in, it stays really nice and snug and secure in the wall. It’s basically a gripping base for a screw. I know a lot of people already know this, but honestly as I type this I am remembering a friend once asking, “What’s a wall plug? I thought you just put the screw in the wall?” so there you go. Just make sure your wall plug and screws are the right size for each other. If you look at the packet of the wall plugs, it should say what screw to get, ie: a a 7mm x 50mm plug will go with a 10-12 gauge screw. The gauge of the screw refers to the measure of the head size and shaft size. Ladies, get your mind out of the gutter.
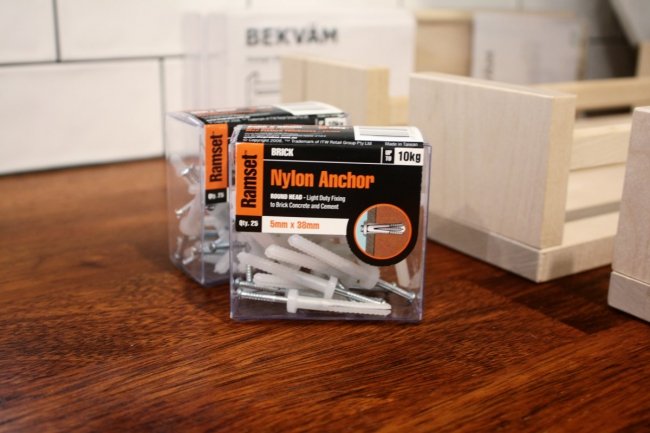
I also picked up some narrow Ramset Nylon Anchors, which you can see below.
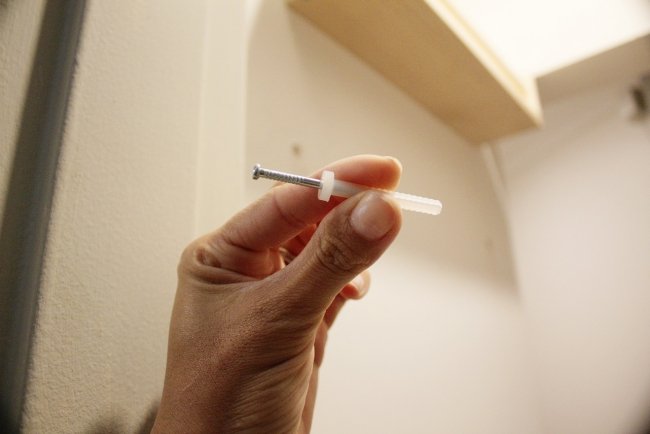
If blogging doesn't pan out for me it's good to know that I'll always have a future as a finger model.
I meant these to be a backup option for the traditional plug and screw, but ended up using them more. These were so easy to use and were a good fit for the Bekvam shelves. They consist of an anchor and a screw - you just tap in the anchor with a hammer, then screw in the screw (strangely enough) and as they can be used for both solid and hollow walls they were ideal for our brick walls.
6. Insert the correct size and type of masonry drill bit centrally into the chuck of the drill. Masonry drill bits are specially designed for brick, concrete and stone. (If you are wanting to drill into tile, metal, wood etc, you would use a special drill bit for that purpose). The chuck is the clamp on the end of the drill that holds the rotating piece in place. You need to choose a masonry drill bit with the same diameter as the fixing you want to use.
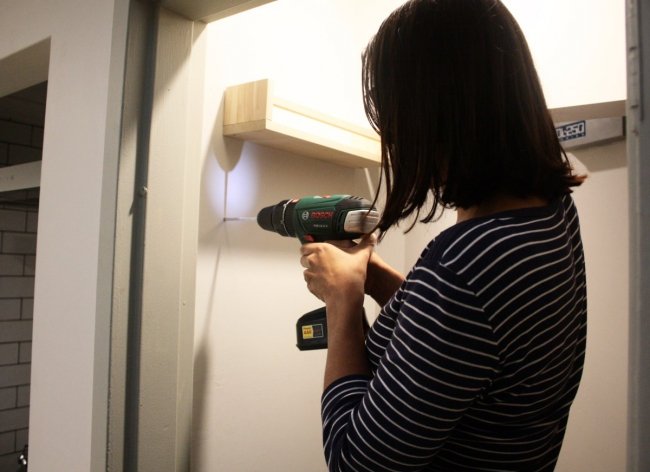
7. Put your masonry drill bit into the hammer drill. I used a Bosch Hammer Drill. I liked that it was cordless. (I know a lot of traditionalists will prefer a corded drill but cordless makes it easier to wangle and much more portable. When the first lithium battery started to run out we just popped the backup battery in it and charged the other). An impact drill should be fine for drilling general masonry and the Bosch Hammer Drill was suitable for drilling into our brick walls. If you want to drill into something really hard (for example, very hard concrete) you may require a rotary hammer.
8. Drill your hole. Be sure to hold the drill perpendicular to the wall. When drilling, try to move the drill in and out in one smooth motion while the drill is running. Stopping the drill and then trying to pull out the drill while it’s not moving, or drilling at a less than perfect angle, means you can actually snap the bit in half. (I know because I have done this in the past).
9. Tap in your wall plug or your anchor with a hammer and then put in your screw. If you use a plastic wall plug and a screw, you tap in the plastic wall plug with a hammer and then rotate the screw in. With those Ramset Nylon Anchors, you hammer in the anchor and then just hammer in the screw.
10. Ta-da! You now have a screw in your wall, ready to hang things on. I’m so proud of you.
*literally, written by a dummy. If you’d like a pro guide, check out this Bosch video. Please note, while I have done my best to give you a great dummy’s guide, I do not accept any responsibility for my instructions – you follow them at your own risk.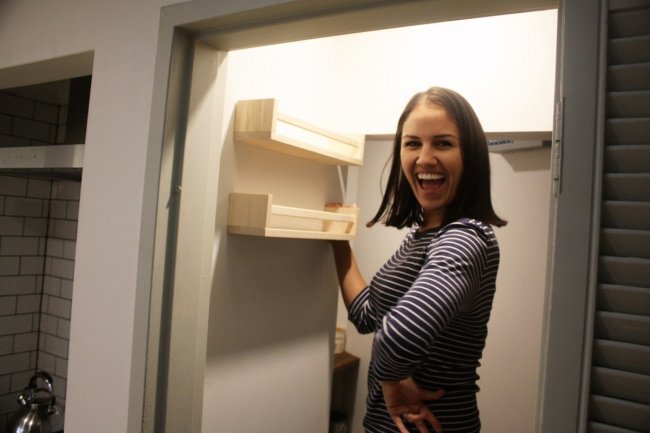
Who would have known that drilling holes in my walls could give so much personal satisfaction? Drilling the wall for shelf number two, I felt a sudden wave of intense happiness. I had successfully drilled a hole in my wall, put in a screw and hung something up. “I FEEL SO GROWN-UP RIGHT NOW,” I yelled over the drill.
“Oh, that’s great,” said Simone wryly, “you’re only 30 years old, married, with a house, kid and a dog.” Nevertheless. It felt like a rite of passage.
Once the shelves were up I thought they would look better a darker colour to tie in with our acacia shelves, so I took them down and while I watched my guilty pleasure show The Unbreakable Kimmy Schmidt on Netflix I stained the shelves using a pot of Feast Watson Stain & Varnish in Walnut I had in the shed.
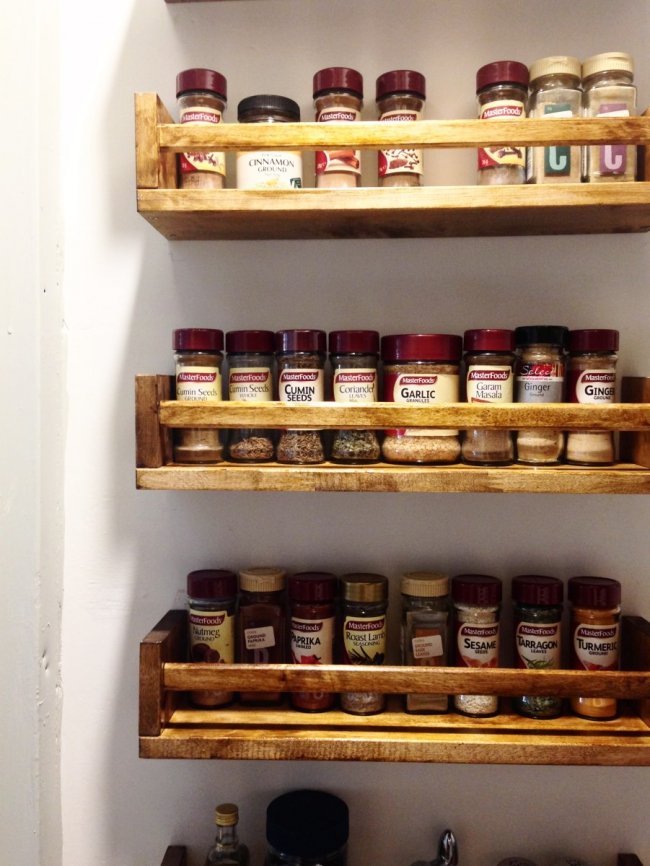
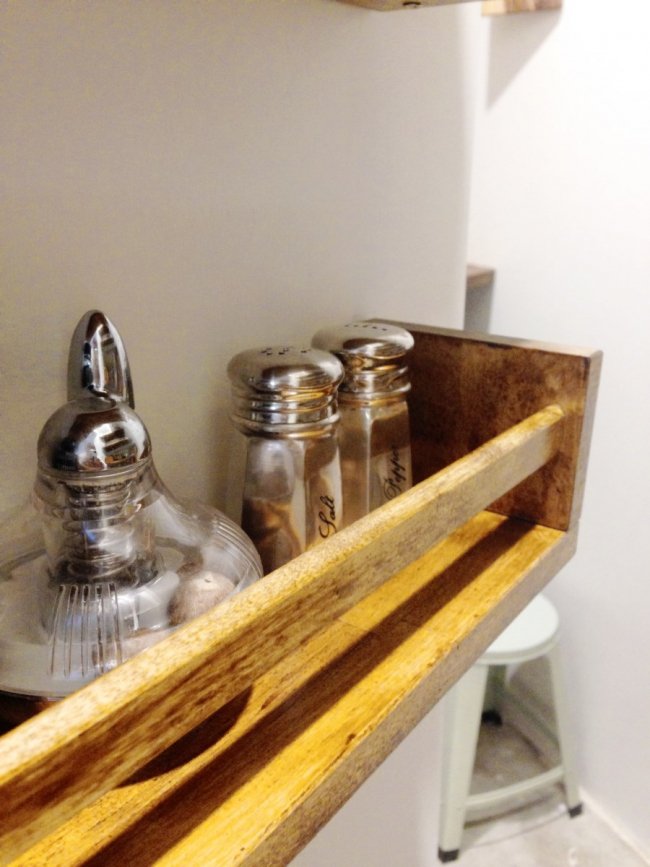
I found the nutmeg! Salt and pepper shakers from Pottery Barn Perth.
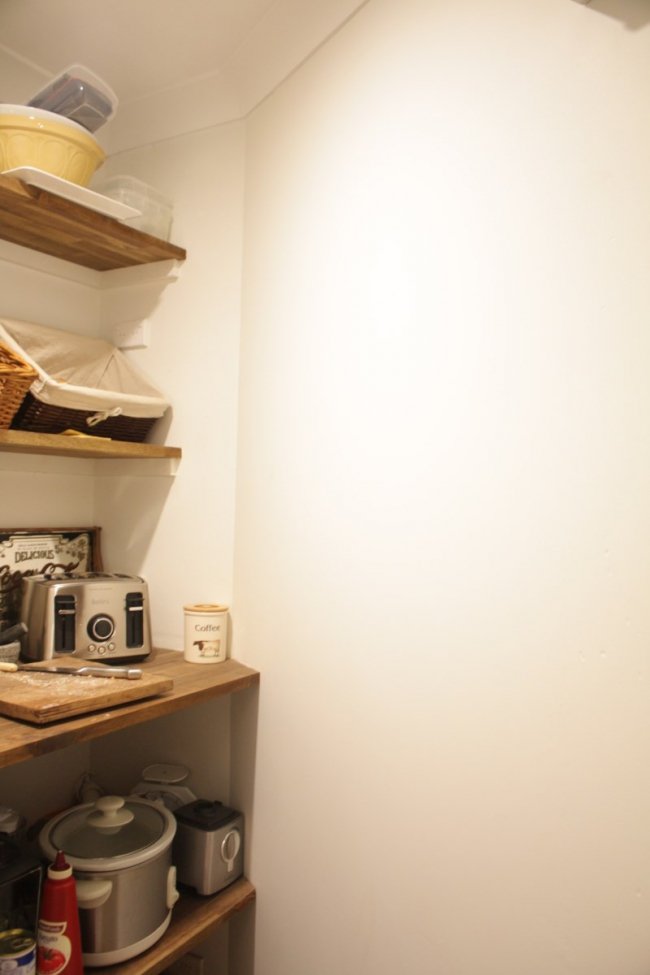
BEFORE
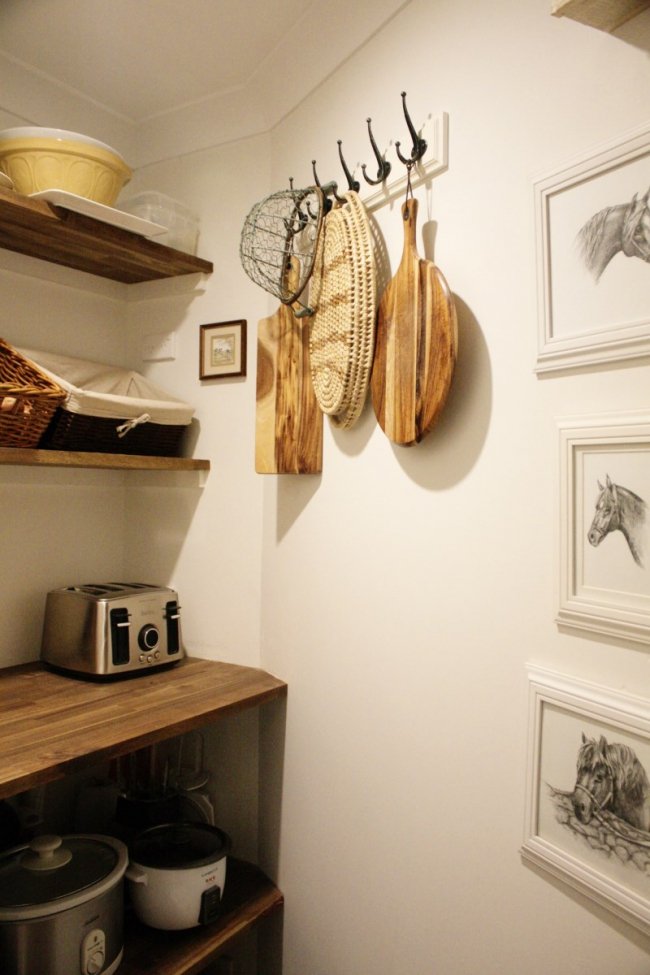
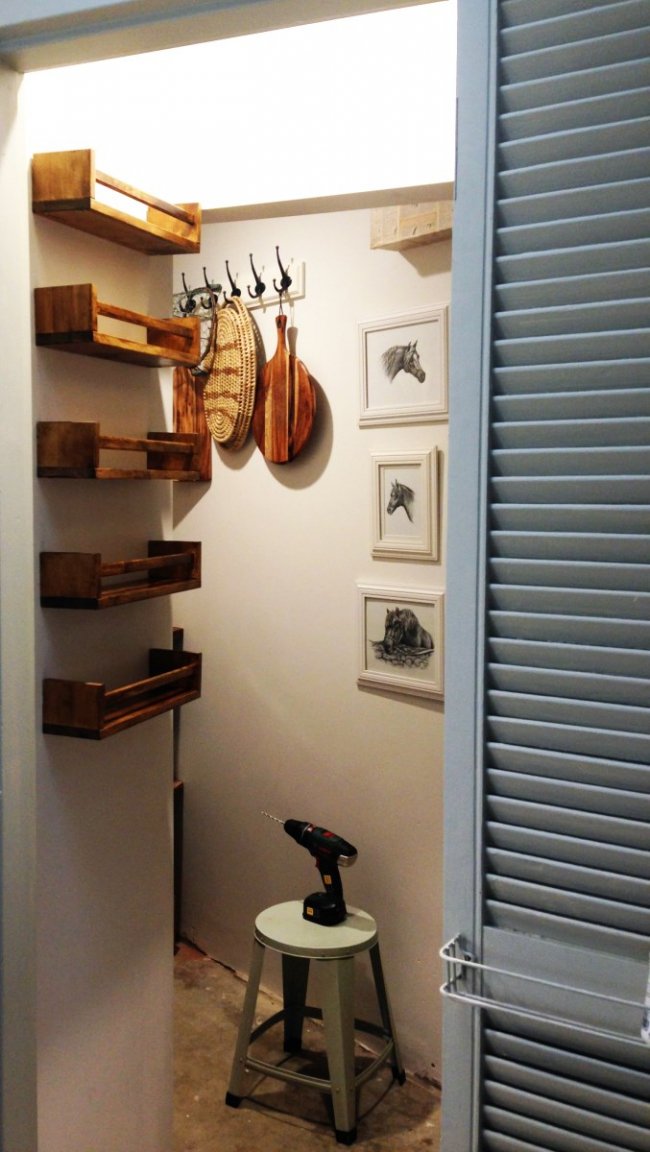
AFTER. The hooks are from IKEA, the wire basket was from Seasonal Concepts in Sydney. The cane bread basket was inherited from Mr Nerd's grandmother. The acacia share boards are from Kmart.
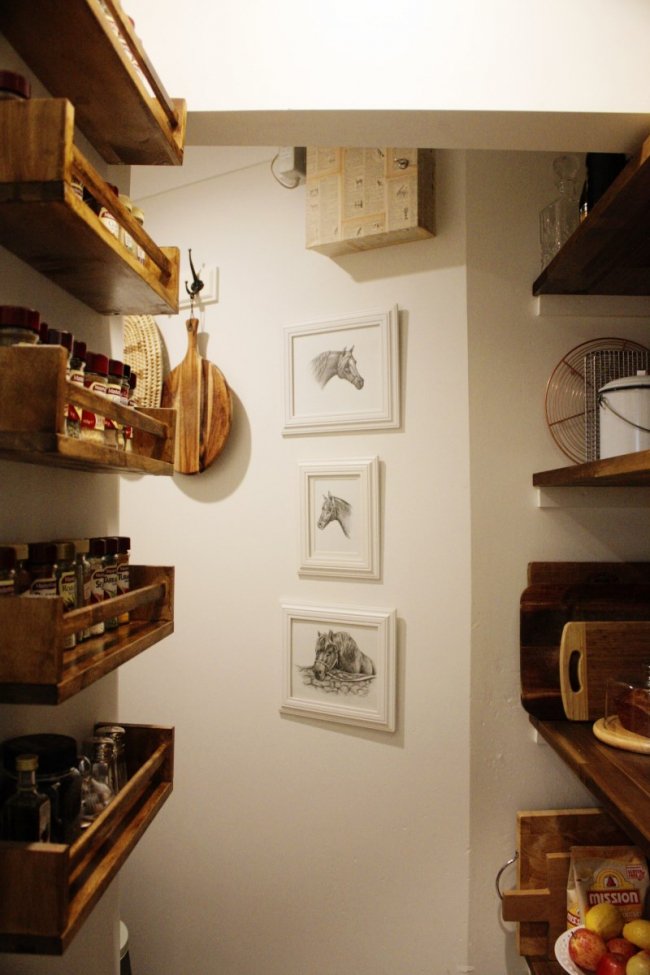
No matter how much my personal taste in interior design has changed over the years, there is one style that has ALWAYS stayed with me and always will – my love of old English farmhouses and cosy country kitchens, like the ones that they feature in 25 Beautiful Homes magazine (my fave home mag). I always intended for our walk-in pantry to have that gently layered, old country cottage look.
So I hung up some old drawings, some IKEA hooks and a tiny little painting of some cows I bought from Melville markets for $2. I seriously have a whole box in our guest bedroom of pictures, art, hooks and things I have always wanted to hang up in the house but haven’t. (That box has honestly been sitting there for years).
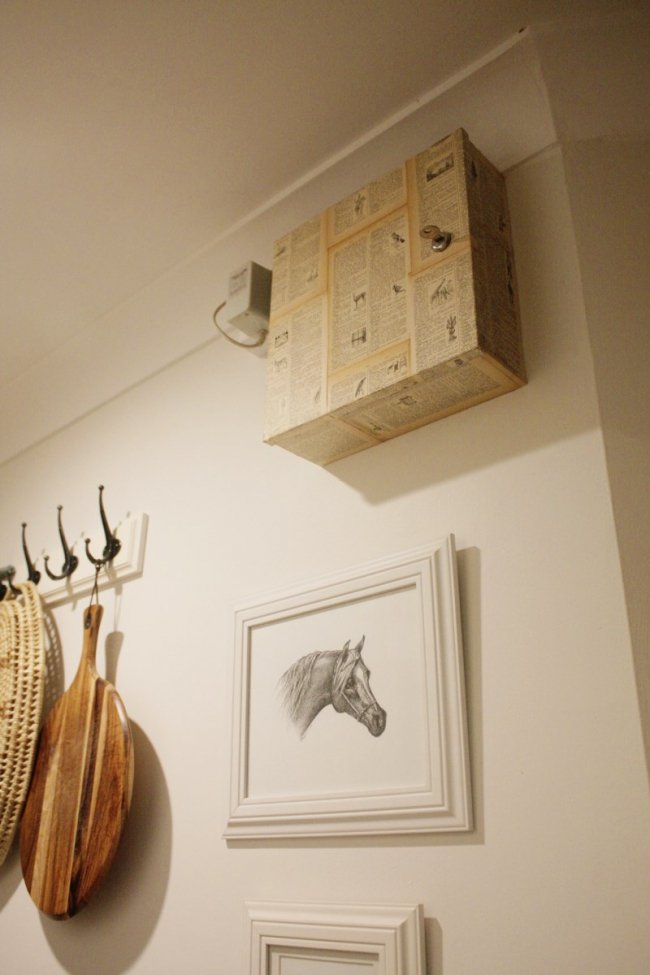
But something in our pantry wasn’t right. The security box! It was so ugly and detracted from my ye olde English cottage pantry look. I needed to disguise its ugliness. I got the idea to decoupage it (same way I did the walls in our toilet makeover). So while Mr Nerd as zooming around a racetrack at 230km an hour on his motorbike, I was decoupaging our security box, like the 15-year-old girl from the 18th century I secretly am. We complement each other well.
BEFORE & AFTER

BEFORE AND AFTER: A little reorganising.
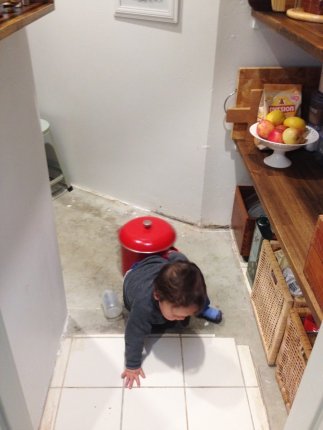
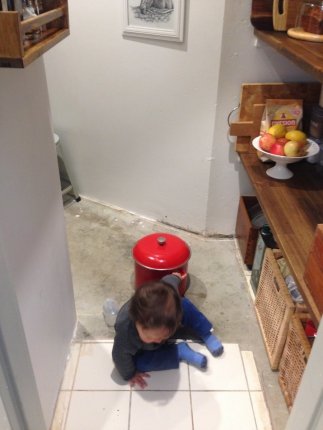
About two seconds after the pantry was completely re-tidied a particular small person began rearranging it.
So my pantry re-makeover is all done now and I cannot tell you HOW good I feel every time I open the pantry door! When the pantry was so untidy, it was such a mood-sapper. I am the type of person who really likes everything around me uncluttered and neat and organised and “just so” before I sit down to work, and sometimes this tendency means I procrastinate on tasks that are boring, yet important. “Well, I simply CANNOT write this newspaper story due in two hours before my sock drawer is organised by colour,” I will declare sadly to myself. Call me nerdy, but there is just something about a nicely alphabetised spice rack or an orderly bookcase that makes my heart happy.
What is your ‘must-do’ thing around the home, that just HAS to be tidy and organised for you to feel calm and happy? Do you feel frazzled or unfocused if your house is untidy or are you the type that thrives on a bit more disorder or creative mess? Maya x
A big thanks to Bosch for collaborating with me on this post! We really love their tools. You can check out other bloggers’ #WinterProjects by following Bosch on Facebook, Twitter, Instagram @boschaustralia, YouTube or check out their website here.


