
When we bought the Crap Shack, it had been a rental for years. During that time, numerous rooms hadn’t been altered in a while. One of these was the kitchen. It was neat and clean, and when I first saw it I thought that was the only good thing about it.
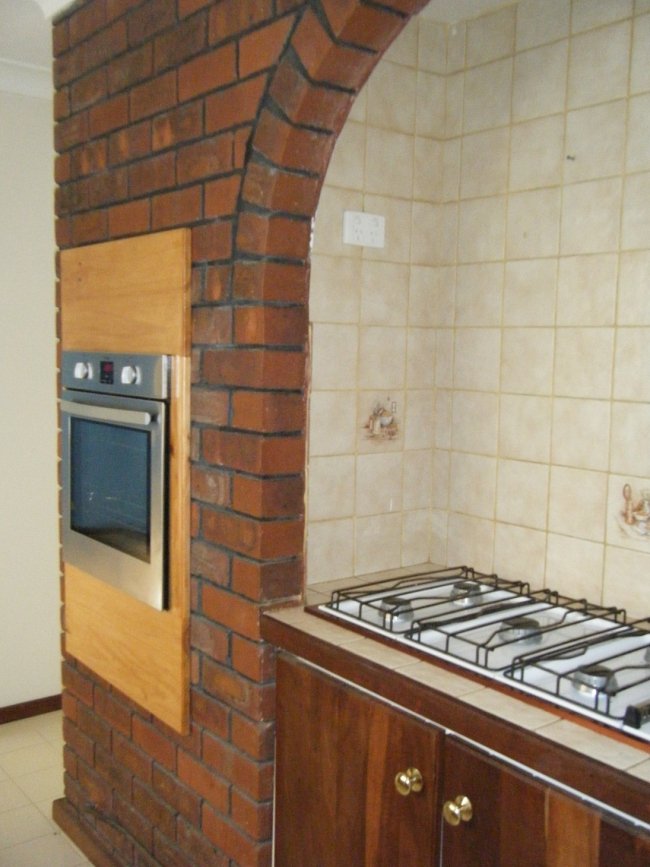
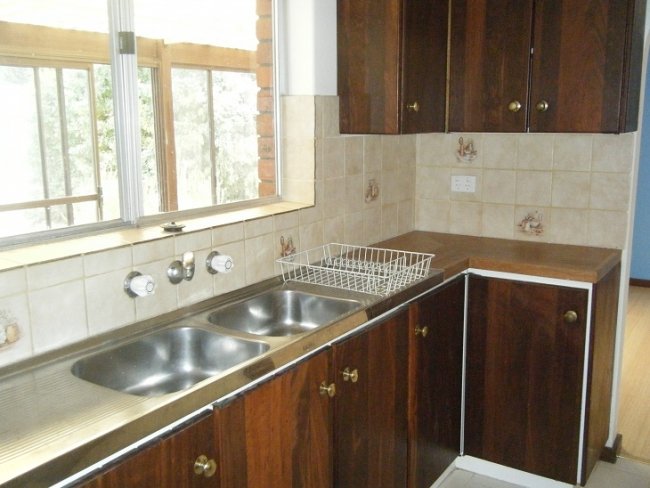
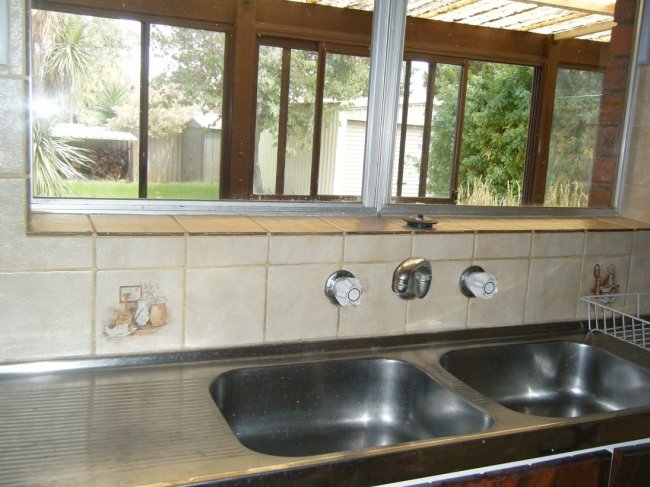
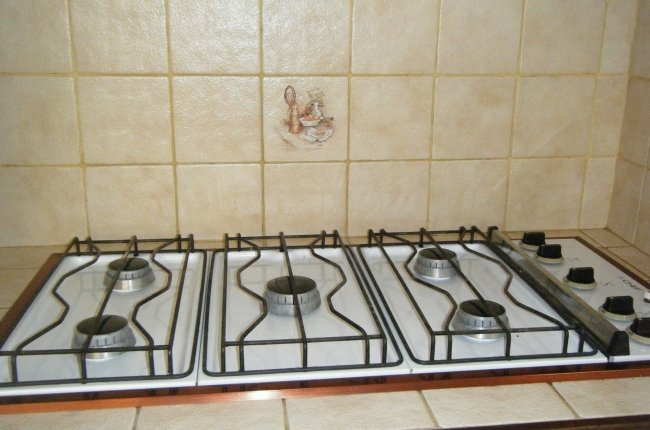
It had dark recycled jarrah cupboards, varnished timber benchtops that had gone orange over the years, and a wall of dated dark red-brown face brick. There was (and still is, I must confess) an ugly fluorescent ceiling light. There were dust-covered ruffled floral curtains. The splashback was brown, 1970s tile – tiles with little pictures of fruit and veg and little compositions of farmyard produce. Uh, interesting.
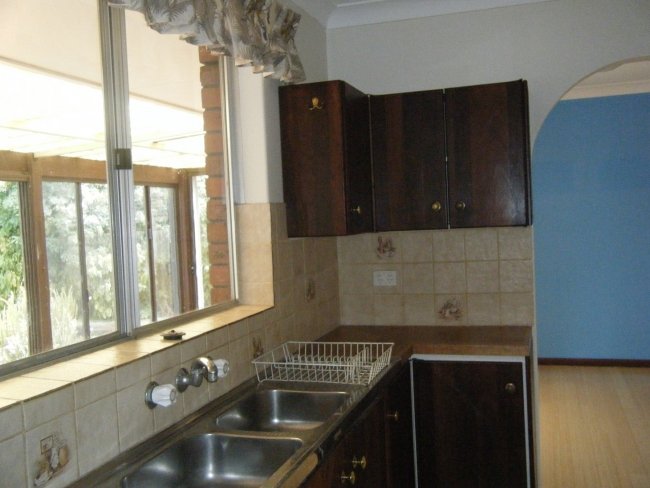
VERY BEFORE
Today our kitchen still has some of those elements – but we have still managed to make it look a LOT better! We have a few things left to do - but in the meantime we have given it a very easy, very budget mini makeover that has made it look so much brighter and more cheerful. To demonstrate, I trawled through my archives and found the oldest, worst pictures of our kitchen I had.
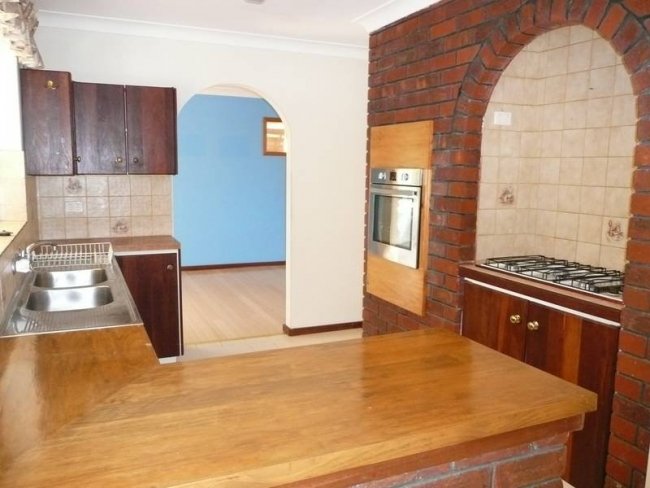
BEFORE
VERY BEFORE.
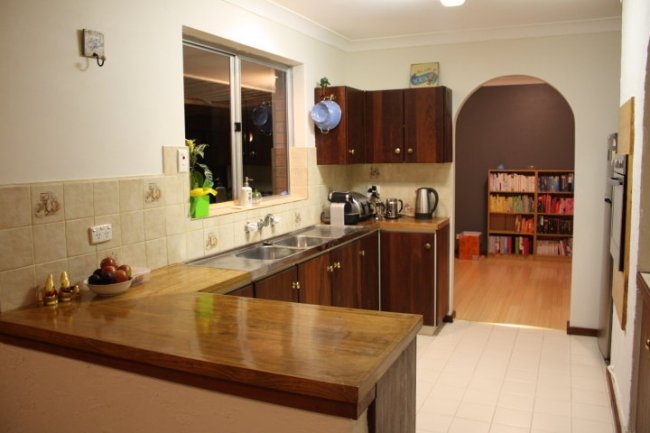
BEFORE: When I first moved in - before the blinds for the windows even arrived.
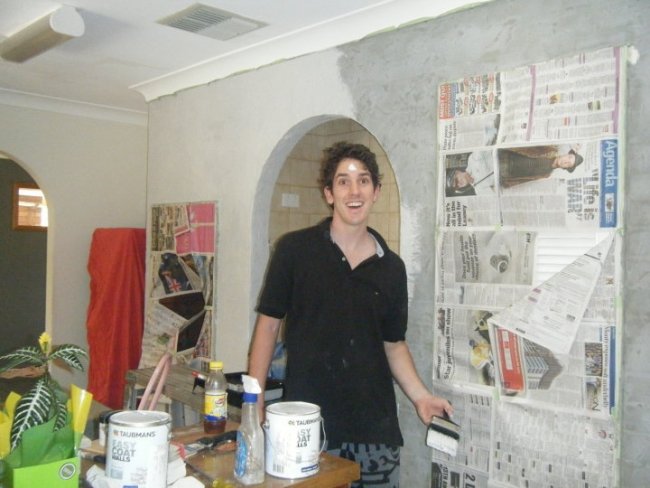
So here’s what Mr Nerd and I did. Before we even moved in, we rendered the dark red-brown brick. It was me and Mr Nerd’s first attempt at DIY render, or DIY anything in this house, and let’s just say, it’s not the most perfect job! It's uh, textured, kind of uneven in parts... I've heard our more polite friends (and we don't have many of those, as you know) say it looks "Mexican". But still, once we painted the render, the difference it made to the room was astounding . It felt so much lighter. Then we repainted the walls.
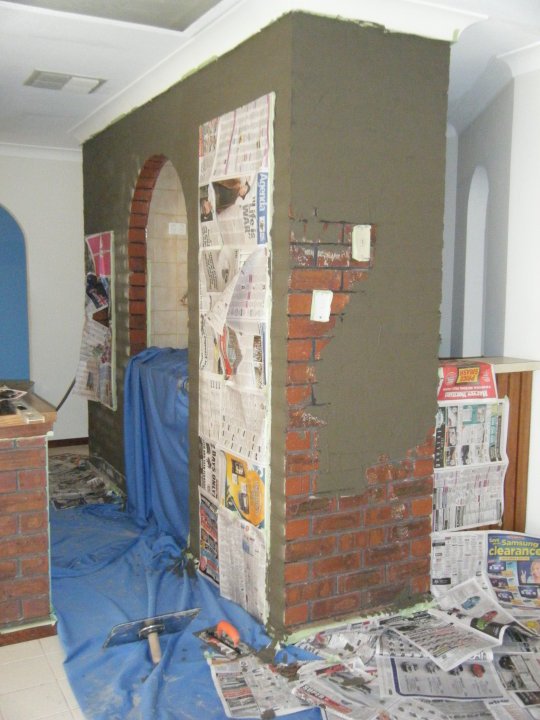
ABOVE: Mr Nerd and I got the keys, and then started attacking the face brick before we'd even popped the bottle of champagne from our real estate agent.

We took down the old asthma-inducing curtains and replaced them with white blinds.
Later we made over our sunroom, which had a flow-on effect to the adjoining kitchen, making it feel much lighter and more cheerful.
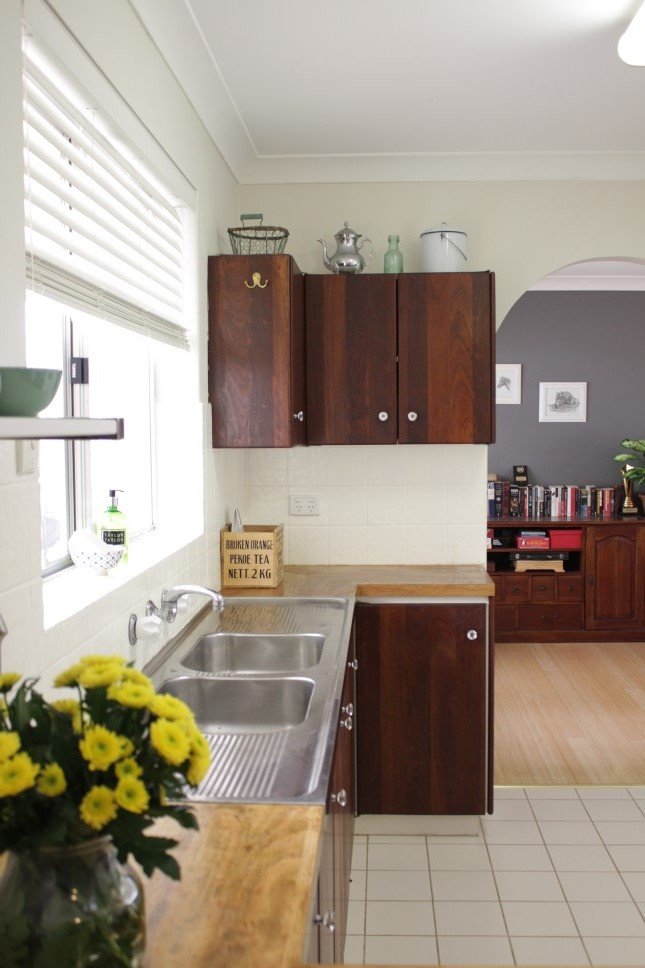
One night I rubbed down the old jarrah cupboards with jarrah oil which makes the timber glow and look nice and rich. You can see here the top drawer has been rubbed, the middle one hasn't. I also removed all the peeling varnish from the benchtop (Mr Nerd will dryly inform you that it started peeling because I got into the bad habit of chopping vegies directly on the countertop, which is correct. MMm! Varnish vegies) sanded them back and glossed them again using Feast Watson Floorclear. It's an oil-based polyurethane floor finish that gives a really strong coating. Doing this made the benchtops look much less orange which was nice.
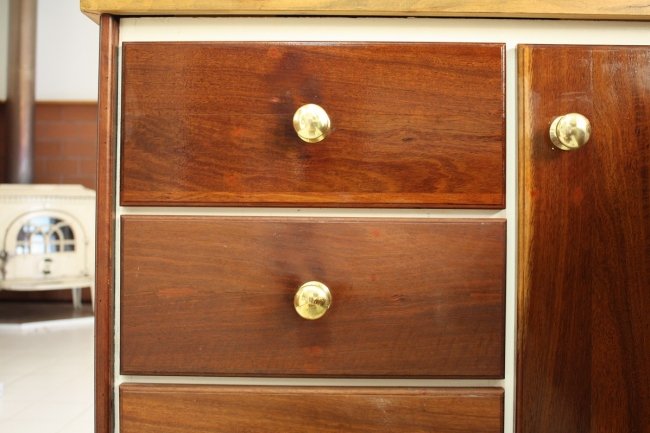
After that, I replaced the old knobs (with inexpensive little crystal ones that I love, Mr Nerd hates… which I have been informed I have to replace again at some stage).
And recently we painted the splashback with White Knight tile paint. Yes, you CAN paint wall tile, and what’s more it is so easy and so inexpensive to do. If you are looking for a budget fix to rejuvenate a kitchen or bathroom, tile paint could be your secret ingredient! It’s low-mess, quick, waaaay easier than removing and replacing wall tile, which is messy, dusty, and hard work, and you can rejuvenate your entire kitchen splashback for less than $100.
Initially when we first moved into the Crap Shack, I envisioned a brand new kitchen one day. I thought we could remove the old kitchen and reuse its old cupboards elsewhere in the house, like in the laundry or in Mr Nerd’s man shed. Now I think, I was so used to seeing beautiful, huge, spanking new kitchens for my job, I couldn’t appreciate an old little one. Dark, narrow jarrah cupboards and timber benchtops were definitely not very ‘in’ back then. And I have always loved those new, clean-lined, white modern kitchens with the glossy laminate cabinet fronts and the Caesarstone benchtops.

Like this one. Remember when I wrote about this Mount Hawthorn home with interior design by Alana Willis Style?
But those brand-new, modern kitchens with the Caesarstone benchtops cost a lot of money. So we put a new kitchen in the ‘one day’ basket. And then something funny happened. Our little old jarrah kitchen grew on us. Before we bought this house, it was owned by an old guy who used one of the sheds as his workshop, and he did a lot of handywork to the house himself – including making the kitchen cupboards. Friends who visited once pointed out that you can see the kitchen cupboards are actually handmade from recycled jarrah floorboards. I love that. And they may not be the trendiest thing at the moment, but they are solid and good quality.
After a while, we realised we didn’t want to rip out our old benchtops, or paint the cupboards, or even really fix up our dodgy Mexican render. We started to love our little old kitchen. It had its own certain character. And it was nice to think of that nice old man who used to own this house carefully making those cupboards out of old floorboards. (He did a very neat job!)
But while the cupboards grew on us, the splashback tile never did. 1970s brown tile with little pictures of food scenes on it. Have a look. I tried to let them ‘grow on me’… they never did.
So when we found out we could paint over them, we were chuffed. If you have been following my blog for a while, you’ll know that wherever we can we try to save money on our renovations by doing stuff ourselves where possible. Mr Nerd does most of the hard labour stuff, I admit. So giving the kitchen splashback a mini-makeover fell to me.
In case you were wondering, you cannot just use regular paint for a tiled splashback. White Knight tile paint is designed to be extra tough (meaning more resistant to the inevitable knocks and bumps of a kitchen) and is formulated to protect against mildew, mould and fungus. I went to the nearest Taubmans Paint store and got a 1L tin of White Knight Tile and Laminate Primer and a 1L tin of White Knight Tile Paint. Do make sure you get the primer – very important! I just wanted the tiles to be white but you can get White Knight tile paint tinted to many of the thousands of White Knight or Taubmans colours.
Tomorrow I’ll show you our 'after' photos, and I'll outline how I painted our splashback - and how much brighter our kitchen looks now! In the meantime, here’s a little peek.
Have you done a budget kitchen makeover? Have you painted splashback tile? Would you give it a crack? Have you ever fallen for the charms of a room you initially thought was kind of ugly? Maya x
UPDATE: You can now check out all our photos of how the kitchen looks now - and see our tutorial for splashback painting here!
Also guys - don't forget there's still time to enter my competition to WIN a Forty Winks Silent Partner bed valued at $3,299! Super easy to enter - all you have to do is describe your dream bedroom!


