
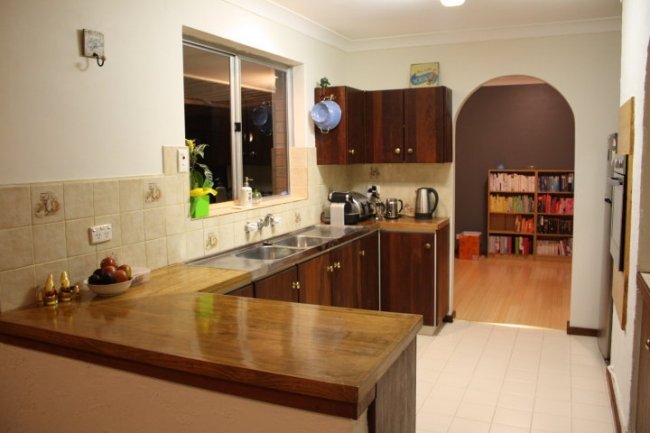
If you are looking for an inexpensive, easy way to update your kitchen or bathroom, tile paint could be the way to go. Today I’m going to share how we used it to give our dated, 1970s tile a mini-makeover for less than $100. Yesterday I showed you guys the before photos of our kitchen when we first bought it. Pretty dated huh? I told you about how the kitchen that we once planned to pull out ended up growing on us... yes, we've grown to love our little old kitchen!
I told you about some of the small things we’ve done to our kitchen to improve its appearance without spending a lot. Like rendering the face brick, replacing the curtains, oiling the jarrah cabinets, replacing the cabinet knobs – and painting the splashback tile.
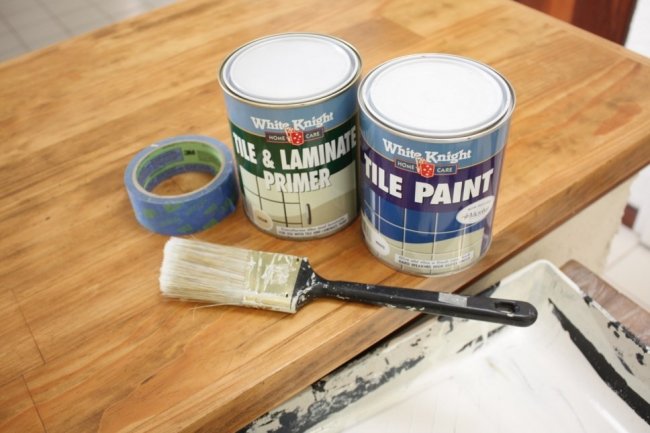
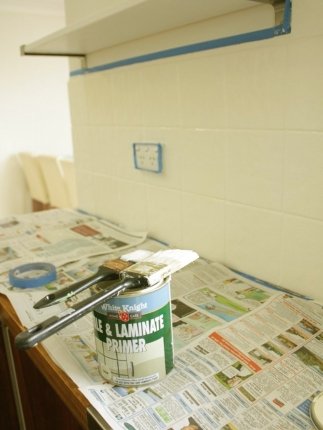
We used White Knight Tile Paint and their special Tile & Laminate Primer. I’m now officially obsessed with tile paint.
BEFORE & AFTER
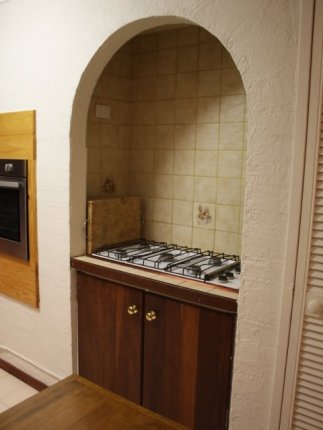
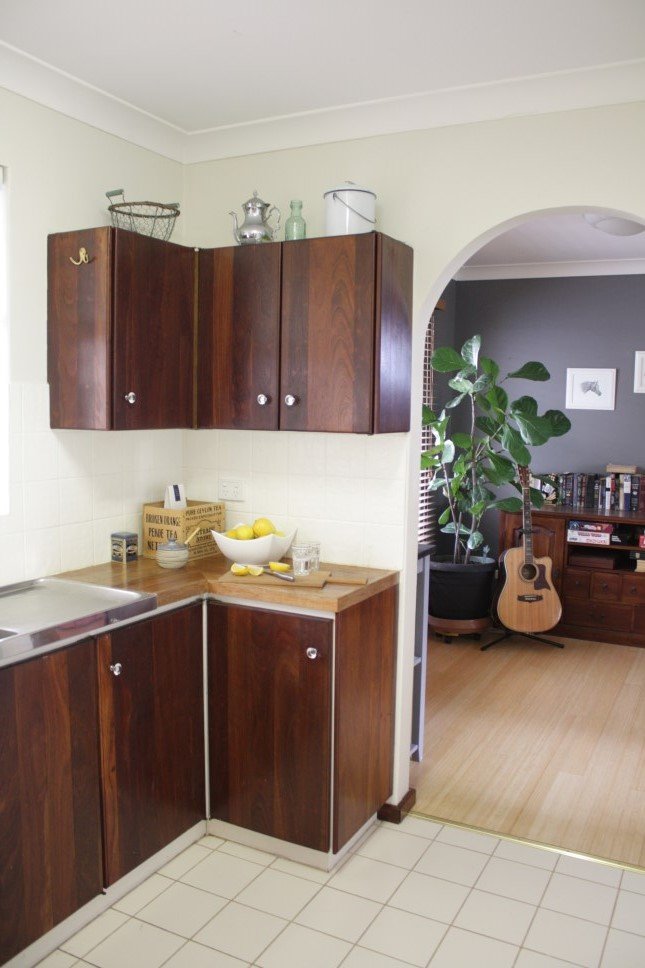
BEFORE
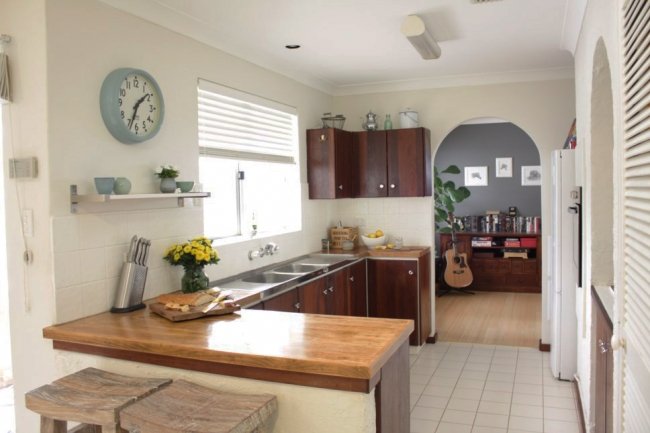
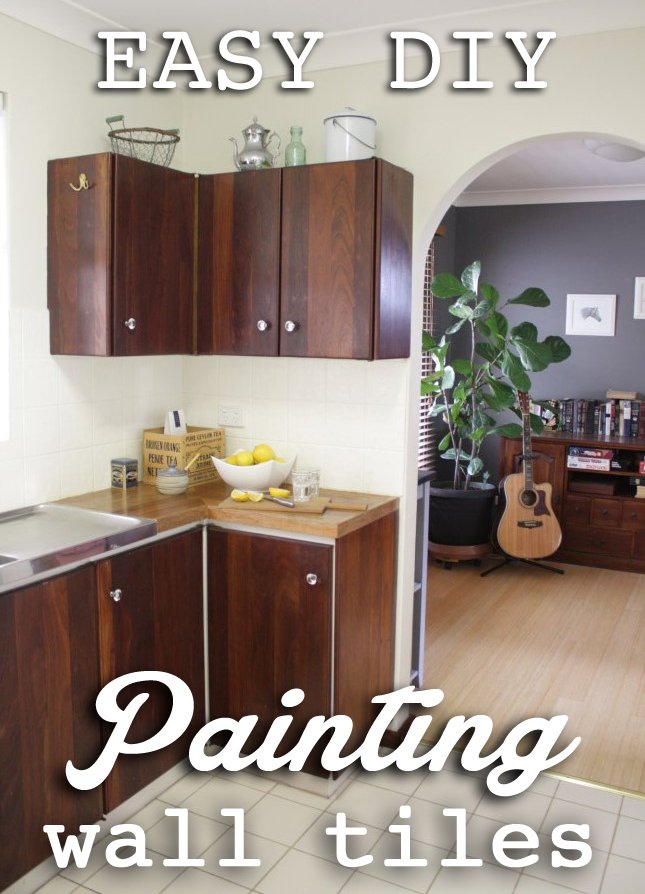
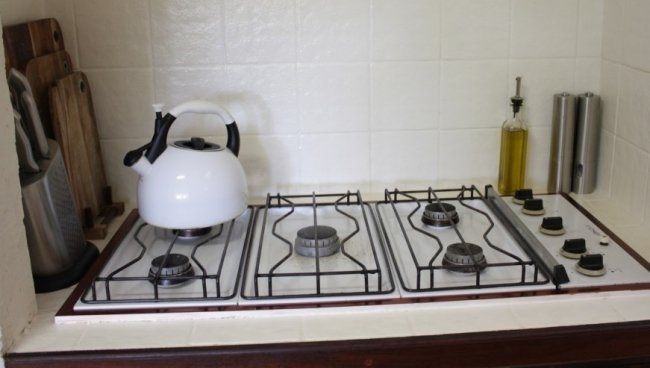
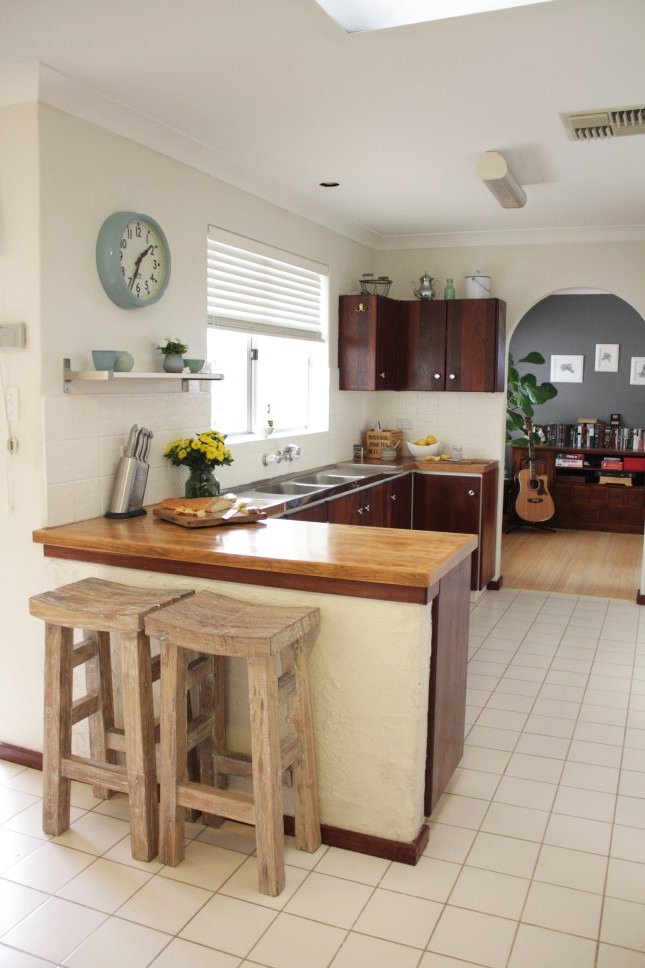
NOW... still some things to go - like replacing the tapware and that hideous ceiling light... but I like this room a lot more now!
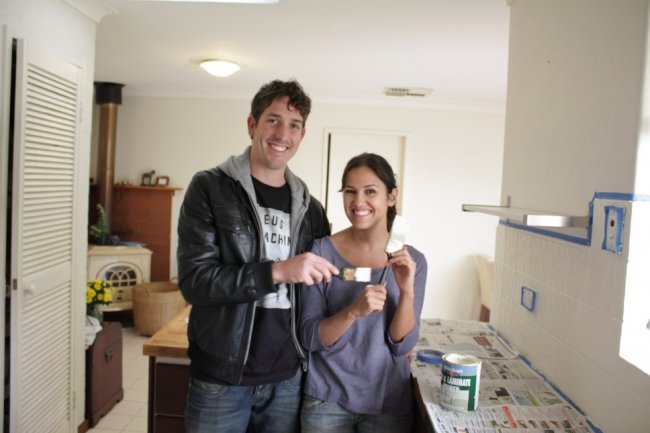
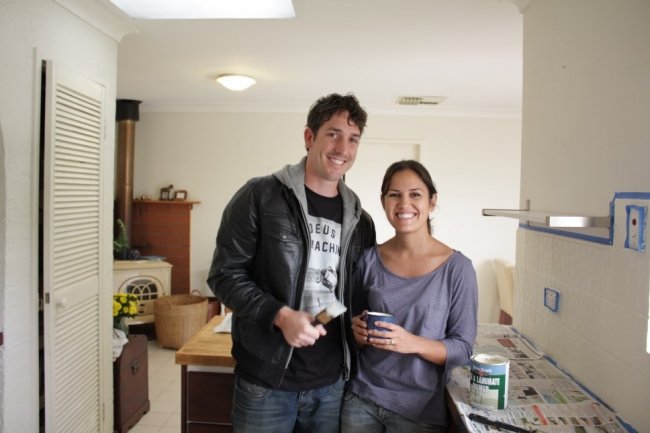
Yes we are dorks.
The difference painting our tiled splashback has made to our old kitchen is astounding. Even when I just had the primer coat on, I started to get excited because I could already see what a difference the primer alone made - without even the top coat!
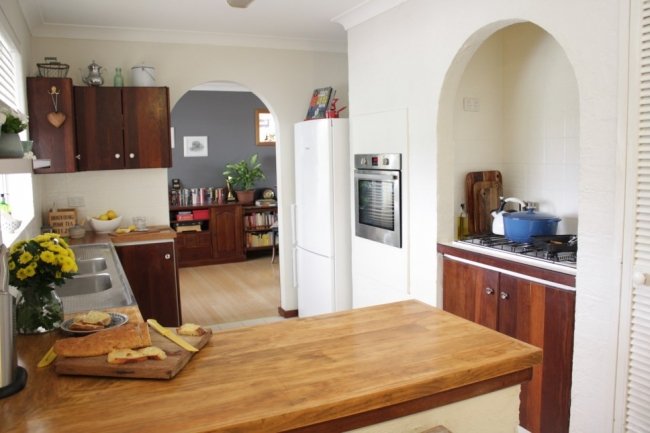
I was so chuffed with the end result. The whole kitchen feels lighter, brighter and bigger. It just looks refreshed. And because the tile paint is glossy, it also bounces the light around, making the kitchen feel like it is bigger. I love it.
Here’s how to do it. You will need to grab a tin of White Knight Tile & Laminate Primer and a tin of White Knight Tile Paint. Good news - it will only set you back less than $100! I picked white for our splashback, but there are thousands of colour options (just look at the White Knight or Taubmans colour lists). Do make sure you prime – very important so you don't get peeling bits. And no you can’t just use any old paint, if you want your sexy new-looking splashback to last. Tile paint is specially formulated to withstand all the knocks and bumps that kitchen splashbacks and bathroom recesses receive.
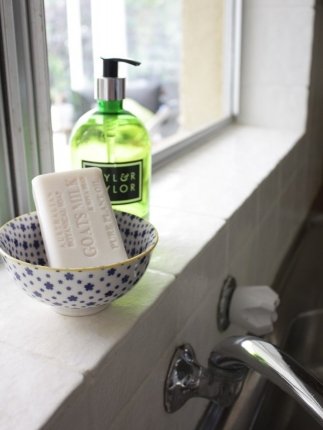
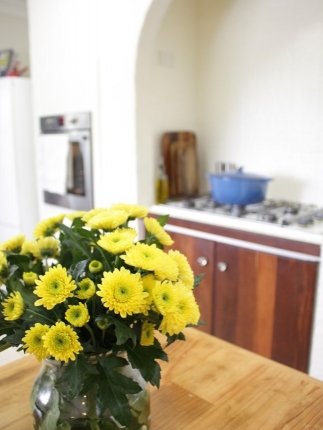
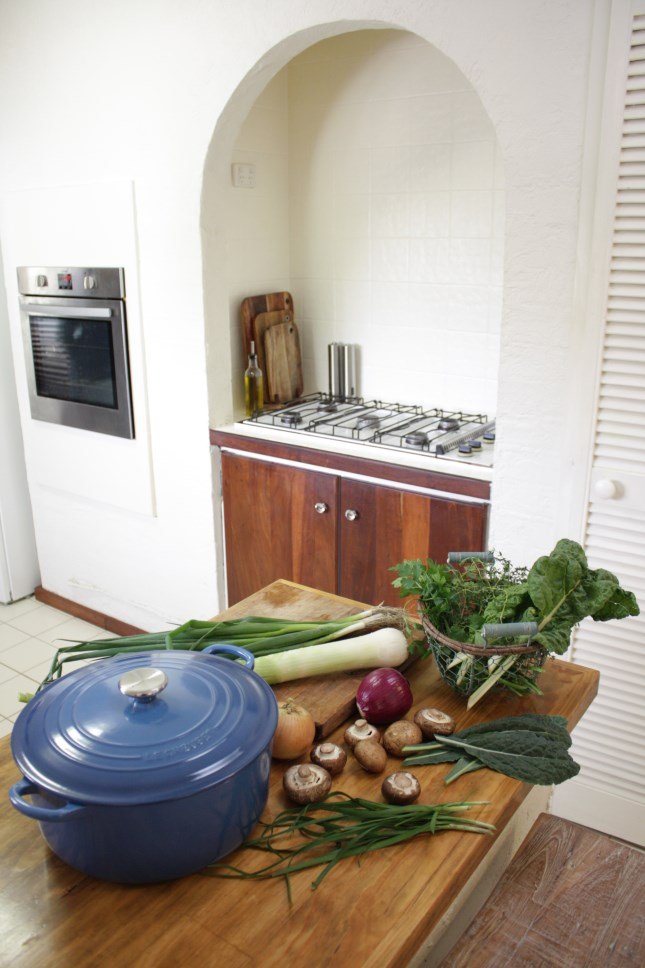
BEFORE AFTER ABOVE LEFT: Bowl from Urban Depot. ABOVE RIGHT: Le Creuset pot from Kitchen Warehouse, vase from IKEA.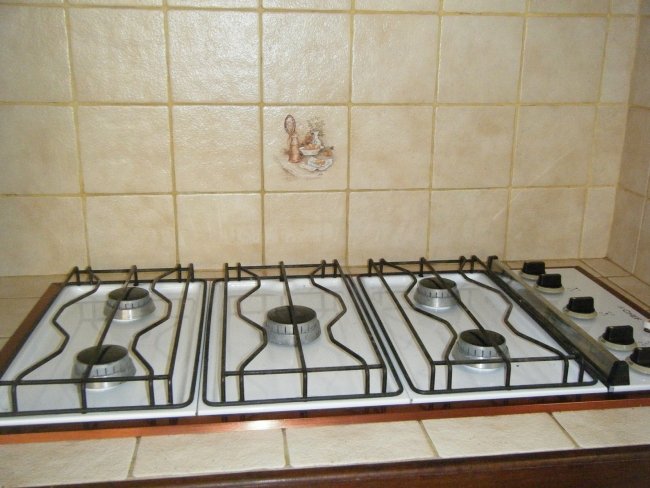
EASY DIY MAKEOVER: PAINTING WALL TILES
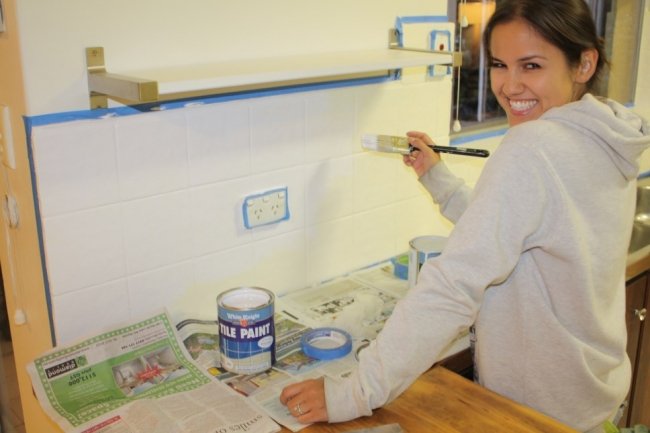
Step 1. Clean your tiles, then tape around the tiles and prime with White Knight Tile & Laminate Primer.
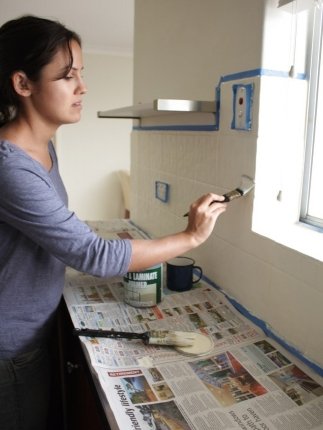
ABOVE: Applying the primer.

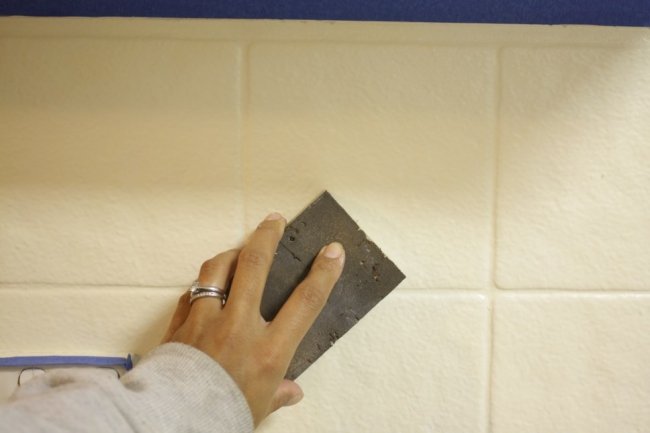
Step 2. Once it has completely dried (after four hours) lightly sand the tiles with 240 grit sandpaper.
Step 3. Stir the White Knight Tile Paint thoroughly for at least five minutes to get its consistency nice and even.
Step 4. Apply your first coat with a brush or a mini microfiber roller.
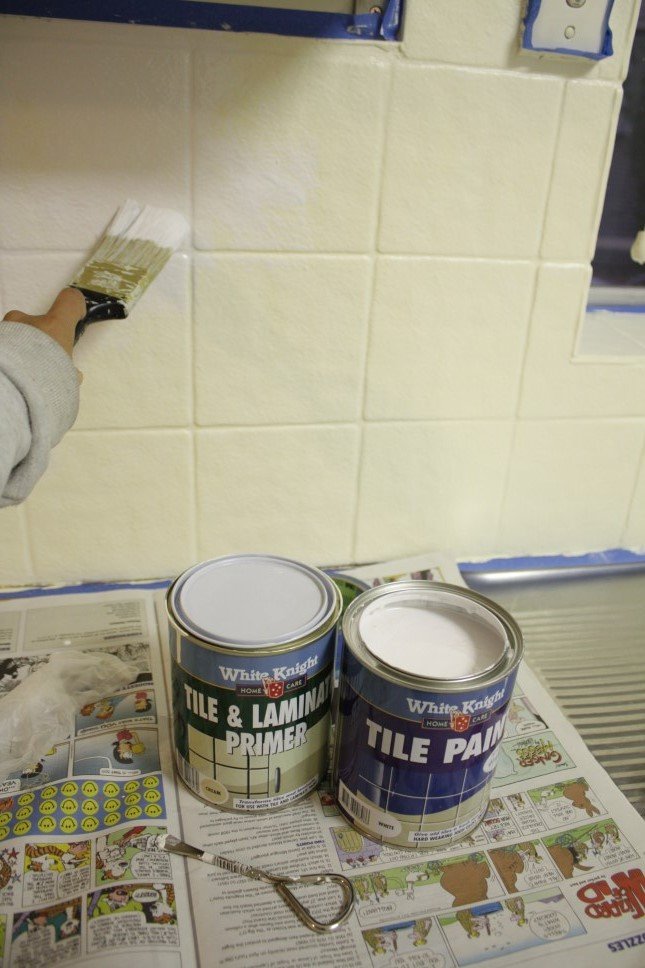
Applying the White Knight tile paint.
Excitement! Top coat time.
Step 5. After six hours, lightly sand using 600 grit sandpaper.
Step 6. Apply your second coat.
Step 7. In eight hours, your painted tile splashback will be dried and done! Just note, tile paint is dry after eight hours, but needs more time to get fully knock-proof. For the first week after painting, protect it from hard knocks and don’t scrub it. And if you want to create grout lines you can use a White Knight Grout Pen.
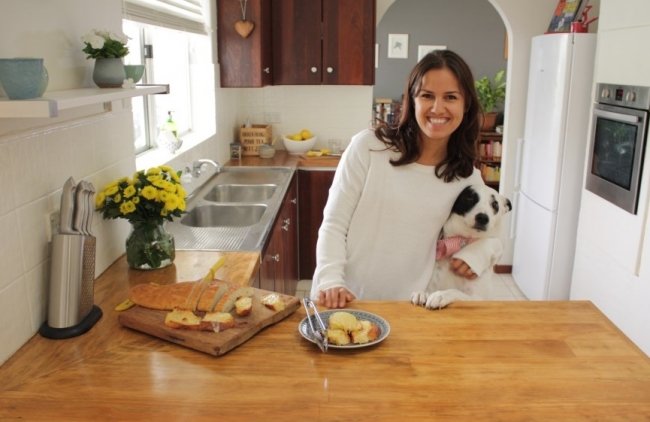
The tile paint is SO easy to use. I did it all on my own – although Mr Nerd pretended to help at one stage which is why he is in photos, not because he actually helped. And it’s quick - in less than a day you can give your kitchen or bathroom a gorgeous mini-makeover, and it’s inexpensive – definitely less expensive than retiling. From our bathroom and laundry renovating, I know how much fuss and dust knocking out old tile is – and in our kitchen the tiles were in good condition, just dated, so painting them was the perfect solution. I’m stoked with how it came out.
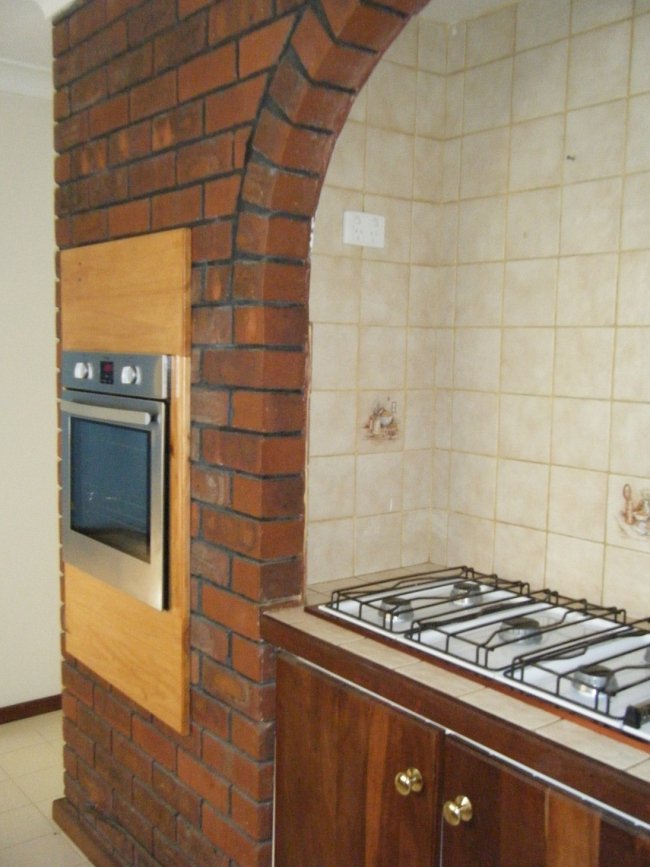
BEFORE
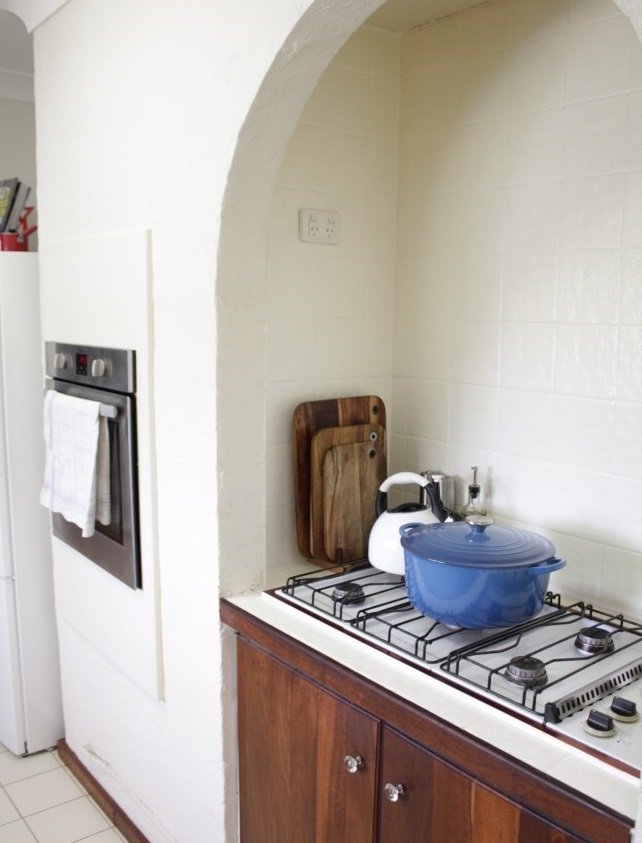
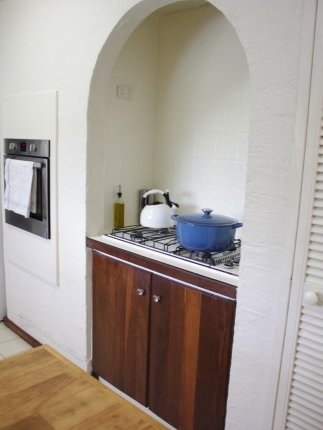
AFTER. Looks so much brighter now, huh? Le Creuset pot from Kitchen Warehouse. The little glass knobs were from eBay.

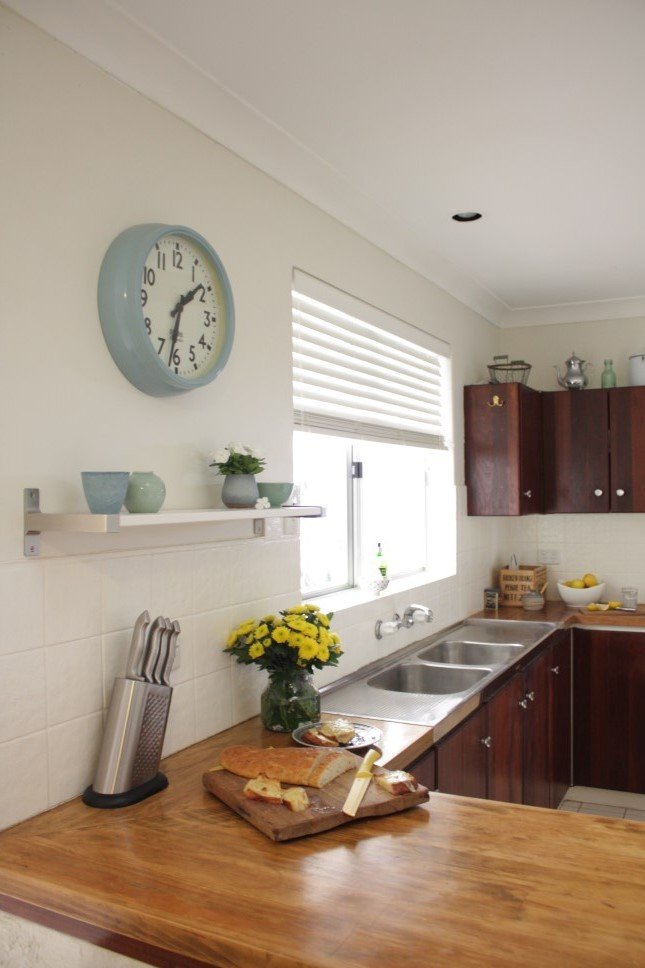
The General Eclectic clock was from Corner Store and a wedding gift from friends Rachel, Ryan and Sam who know our taste very well! ;) The Meek Beaker (left of the shelf) was a present from wonderful ceramic artist Patricia Fernandes.
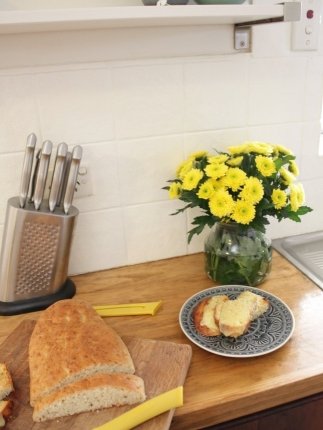
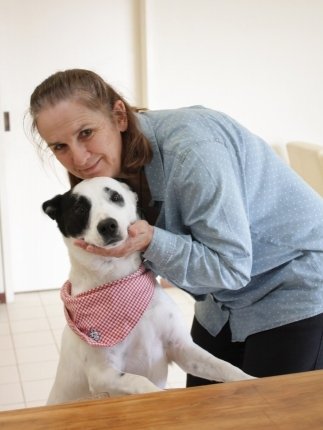
ABOVE LEFT: The White Knight tile paint makes the timber benchtops seem nicer, too! Knife from Scanpan, vase from IKEA. ABOVE RIGHT: Nala with my mum - she popped over to help me take photos (my mum, not Nala).
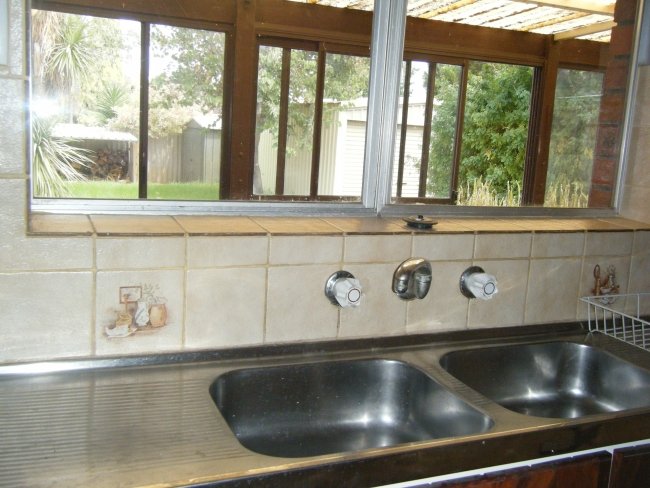
ULTRA-BEFORE (even before our budget sunroom makeover!)
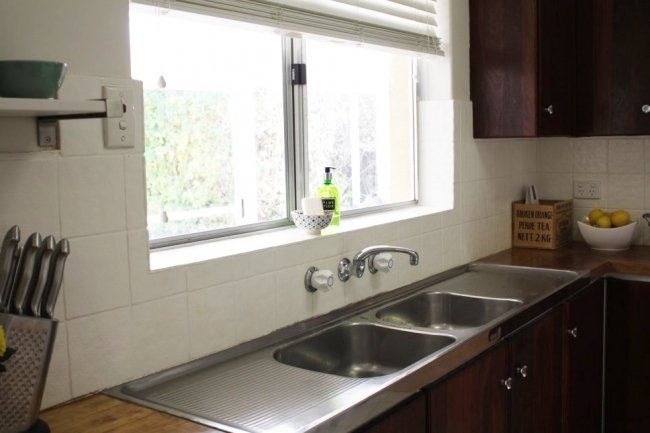
NOW. I'm still looking forward to replacing those cheap taps!
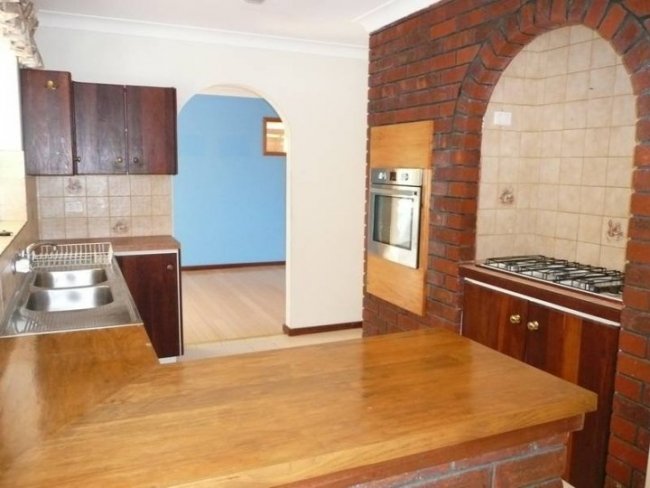
BEFORE
NOW
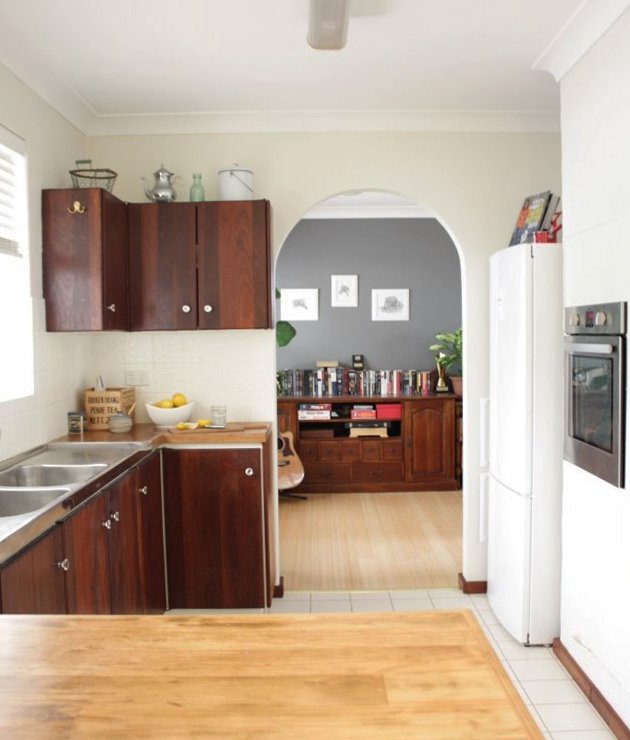
It’s definitely not a dream kitchen – but our little old jarrah kitchen has grown on us. Even though it’s kind of small, and there’s not much benchtop space, and we need to be very clever about how we use the storage. And even though the ugly fluorescent light and the cheap plastic taps still need replacing. But now that the tiles have been painted it just FEELS so much better, so much nicer and lighter now.
Eventually we may add jarrah shelving for cookbooks above the fridge. And Mr Nerd came up with a great idea of turning the pantry into a walk-in scullery by knocking out the wall and using the space from our bar beyond it. And one day we'll do the floor in beautiful timber floorboards. So our kitchen is still a work-in-progress… but we very much like it now!
Have you done a budget kitchen renovation? Do you like your kitchen or hate it? Would you paint your tiles? Maya x
Also guys - don't forget there's still time to enter my competition to WIN a Forty Winks Silent Partner bed valued at $3,299! This bed is amazing and it is super easy to enter - all you have to do is leave a comment on that post describing your dream bedroom!


