
We have been busy here at the Crap Shack. We finished our bedroom makeover, we’ve been renovating our main bathroom and we’ve just started our laundry renovation too. I have a few blog posts yet to write for the week to come – including a full 'room reveal' of our bedroom and a very exciting chance to win a beautiful Forty Winks bed! More soon.
Right now, the dining table is covered with tools, the laundry and dryer have been shoved into my home office, tradies and suppliers giving us quotes pop in and out of the house, and most days I sit here writing to the background sounds of banging, drilling and spots of swearing.
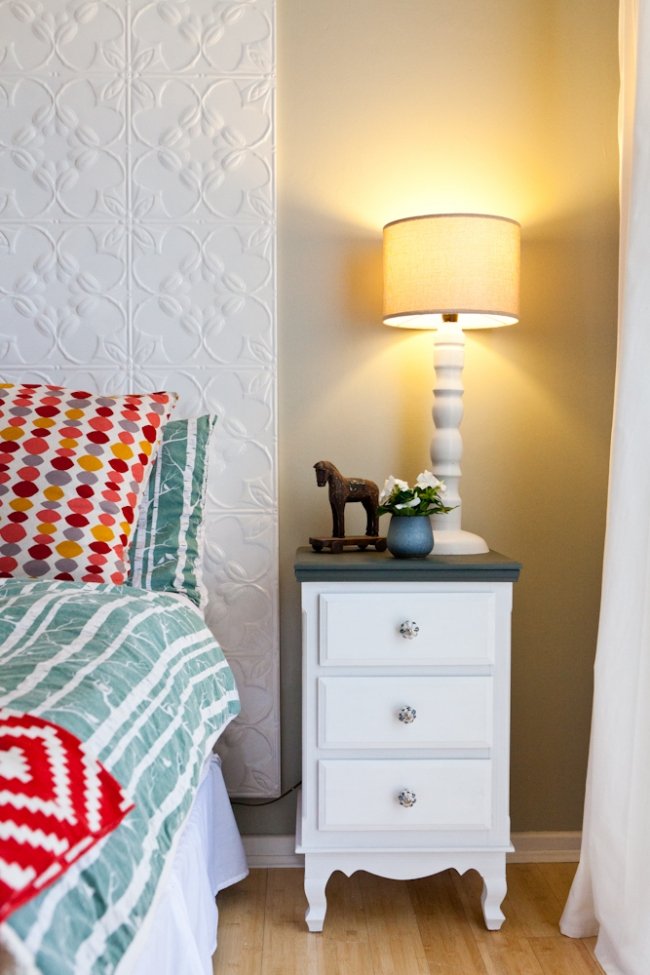
Our bedroom is finally finished! Full post to come soon. We used pressed tin panels from Heritage Ceilings to make a custom bedhead - a DIY to come. Photo by Heather Robbins of Red Images Fine Photography.
But while I am looking forward to all the work being done, in the meantime, I kind of don't mind the excitement of having renovations going on around me. It makes me happy. Each step of each job in each day feels like it is bringing us one step closer to making our house nicer and more ‘us’.
The smell of plaster dust in the air reminds me of growing up in my mum and dad’s 1950s house while it got extended – once out the back, the other time upwards with the addition of a second storey. My little sisters and I found it all so exciting that our house was growing around us. We may have run around annoying the builders too often. “Can you be a bit more careful, Jim?” my dad said as a tradie walked past with a huge ladder swaying on his shoulder, narrowly missing conking Natasha’s small head. “You’re going to kill one of the children.”
“EH,” said Jim rudely, sauntering off. “You can make some more.”
My dad just laughed, but I was nine years old, I had just learned at school how babies were made and I was HORRIFIED that Jim was so blasé about… well… doing that.
With an older house like ours that has a few older house problems, I’ve gotten used to tradies who tell it like they see it. Do you remember my post about our bathroom renovation progress and how our original plans had to change? I had been a bit disheartened when it turned out that the bathroom renovation was going to mean a whole lot more work than we had originally planned (and a lot more money!)
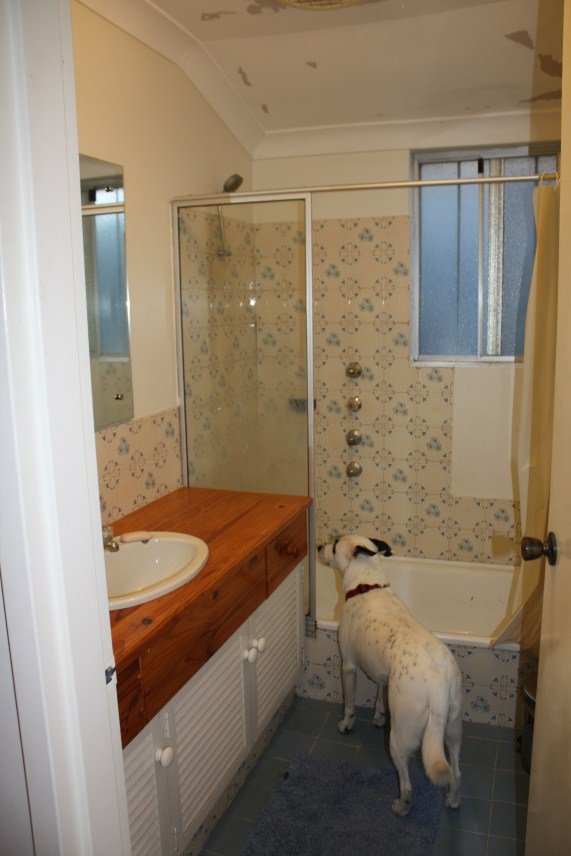
BEFORE: Our 1970s bathroom before we touched it. Lovely blue floor tile and orange pine we have there.
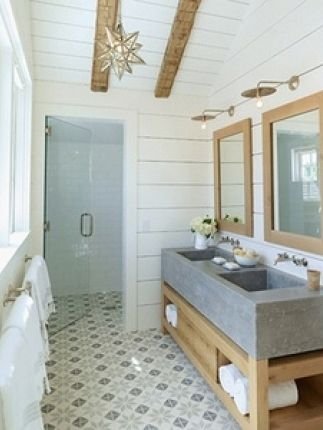
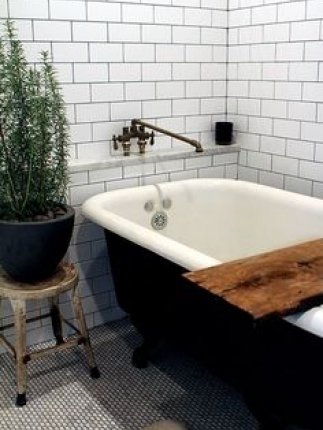
ABOVE: A couple of the photos we looked at for inspiration for our bathroom renovation. If you are planning a big renovation or a new build, Cordell offer services to help you work out specific building costs including detailed costing details for materials, labour and equipment hire to help you get organised (perhaps something we should have checked out right at the beginning of our renovations!)
We originally wanted to save on money, mess and time by keeping the original wall tile, vanity, jarrah towel rail and bath. We have since had to gut the whole room to pretty much start again from scratch.
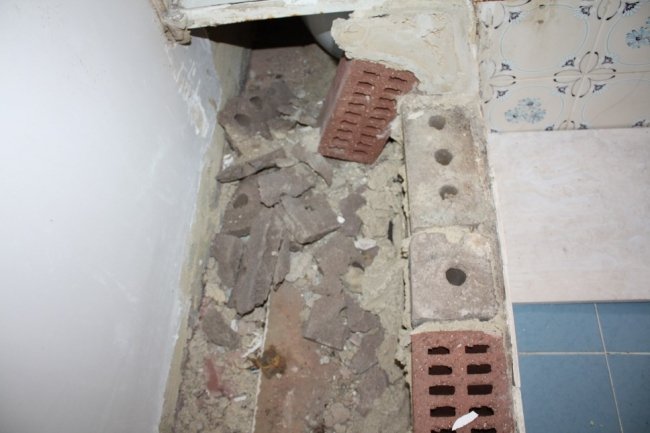
The most recent thing that had to be replaced was the old enamel bath. It was a good size and solid and we wanted to keep it. It had a few patched-up marks that had been there since we moved in, but they didn’t bother me. As we removed the tile, our plumber told us that the drain had rusted so much over the years that the bottom of the bathtub was also rusting away. Argh!
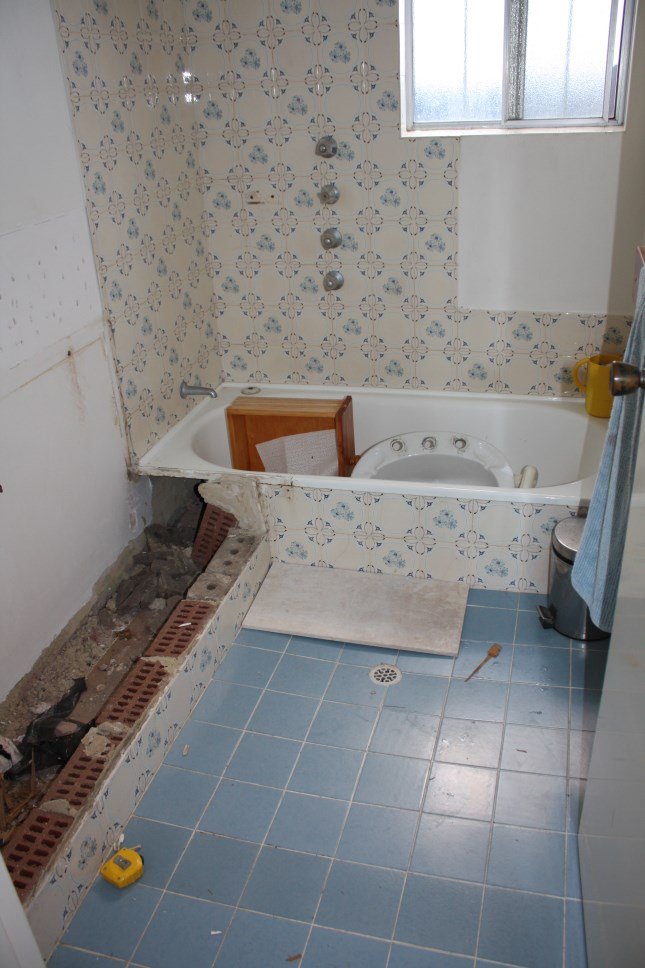
STUPID OLD BATH. As you can see, when renovating a bathroom I still like to leave a bath towel on the rail because you never know if you might decide to take a spontenous shower.
SEE THAT LITTLE BROWN THING? When we removed the old vanity, we found that underneath it was the looong-dead skeleton of a mouse. Yuk. I did take a close-up photo but on closer inspection decided not to put it on here in case anyone reading this is eating their breakfast. Yes I am thoughtful like that.
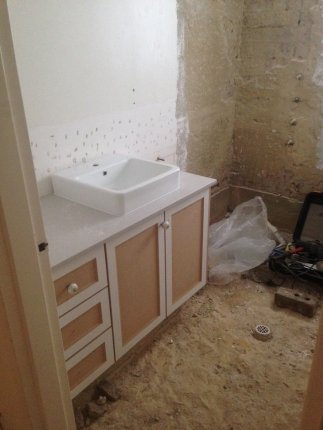
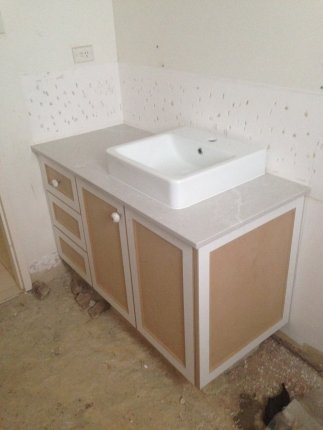
ABOVE: Our new bathroom vanity.
It’s okay now… I say that because we FINALLY found a new steel bathtub that actually fit our dimensions. I wouldn’t have thought the bathroom was that small, but by steel bathtub standards apparently it is. So we now have a bathtub… and we have a vanity!
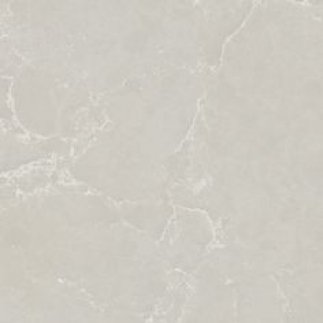
It has a beautiful Caesarstone top in Alpine Mist… I love it. I ordered it without being able to see a sample in real life, so I breathed a sigh of relief when it arrived - it's gorgeous. It wasn’t cheap! The cabinet part is raw MDF. Not too common at the moment, I give you that, but I wanted something with more of a classic design that I could paint any colour I wanted that would (hopefully) mimic that painted timber look. I am thinking of painting the cupboard a darker grey.

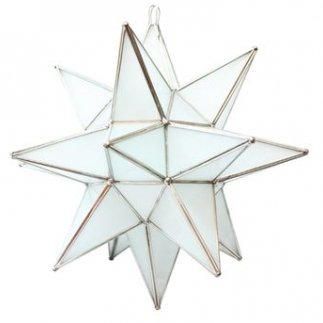
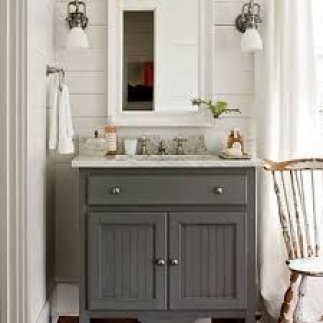
ABOVE LEFT: Our encaustic tiles for our bathroom floor from Jatana Interiors and our pretty knobs from Il Cibo. ABOVE RIGHT: Our benchtop material - Caesarstone Alpine Mist, from their new range. BELOW LEFT: The star lights I love as hard as I loved frangipanis on EVERYTHING when I was 15. BELOW RIGHT: the kind of classic style (and deep colour) I had in mind for our vanity unit. I find so many stores sell almost exactly the same kind of vanity (and very modern ones at that) but I really wanted something that looked a bit 'older' so I got one custom-made by Chesleigh Fine Furniture.
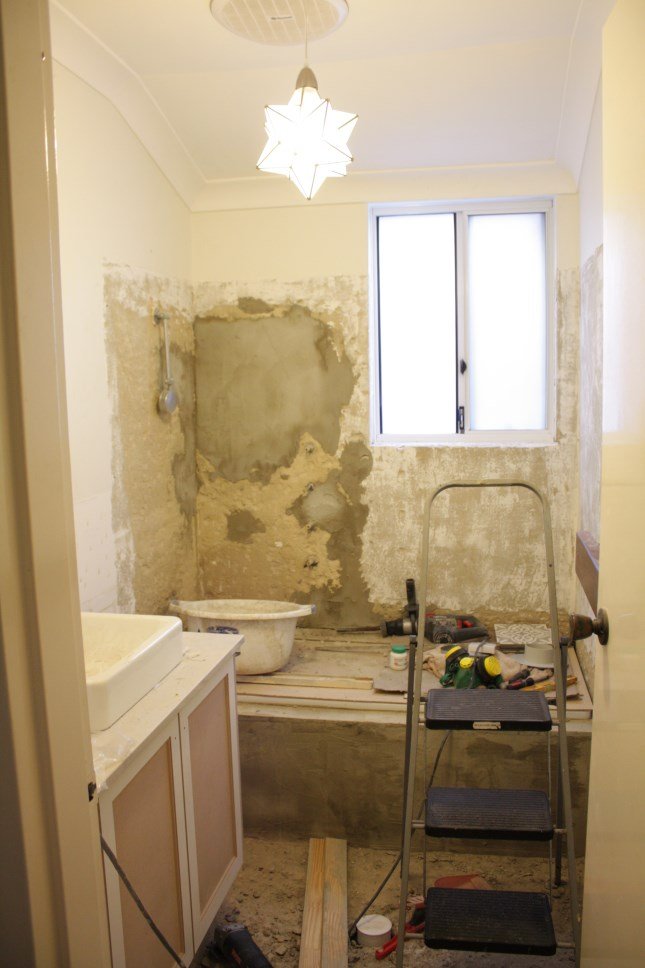
Our bathroom today... getting there! If you buy a pendant light from Masters, make sure you also pick up a DIY pendant kit. The box will say that all your light needs is a 40 watt light bulb – not true, as we found out when we got home! You also need to make sure you buy a DIY pendant kit and the correct batten fix ceiling fixture, if you need one. Masters only stock one length for their DIY pendant light kits so if you have low ceilings, like us, where you’ll need to shorten the length a lot, consider that too. Mr Nerd found that Bunnings sell shorter length light kits.
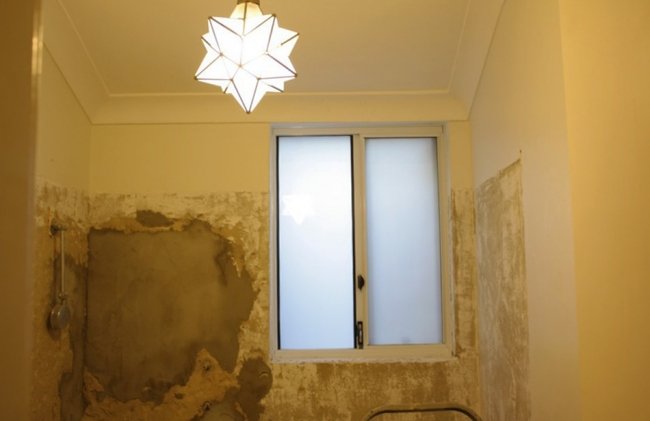
The light has also been installed… and I love it. I have adored these star lights since the first time I saw one on Pinterest a year ago and have always wondered how I can work one into our house without Mr Nerd complaining that it was too girly. The chance came with our bathroom - it seemed to suit the floor tile and that kind of semi-rustic, pretty look I wanted. I was stoked to spot one of these lights at Masters. I know the light looks weird and out of place now, but I really do think once everything else is in it will all tie together!
We have also started renovating our laundry!
I must confess to doing something a little bit naughty here. We had vague plans to renovate the laundry later in the year, after the bathroom, so all the mess wasn’t too overwhelming. You know, a 'doing one room at a time' approach, which for sanity’s sake makes sense, really. We have learned this from our previous renovating experience.
But I don’t learn. The little devil sitting on my shoulder whispered to me, “But Maya! You might as well do the bathroom and laundry all at once! Get all your renovation mess out of the way at the same time! It will be worth it any anger from Mr Nerd!” That kind of makes sense, yeah? So one day when Mr Nerd was at the gym I ordered some custom-made laundry cupboards. Three weeks later they arrived on a big truck, with our bathroom vanity, and the truck guys carried them out to the sunroom where they took up, er, half the room.
“Surprise,” I said meekly to Mr Nerd when he saw them. “We’ve got laundry cupboards. Maybe we can renovate our laundry now?”
Mr Nerd was not happy ok he was furious and I do feel guilty because he is the one who has to slave away doing all the hard work while I do stuff like skip around choosing pretty doorknobs, so ok, I owe him massively.
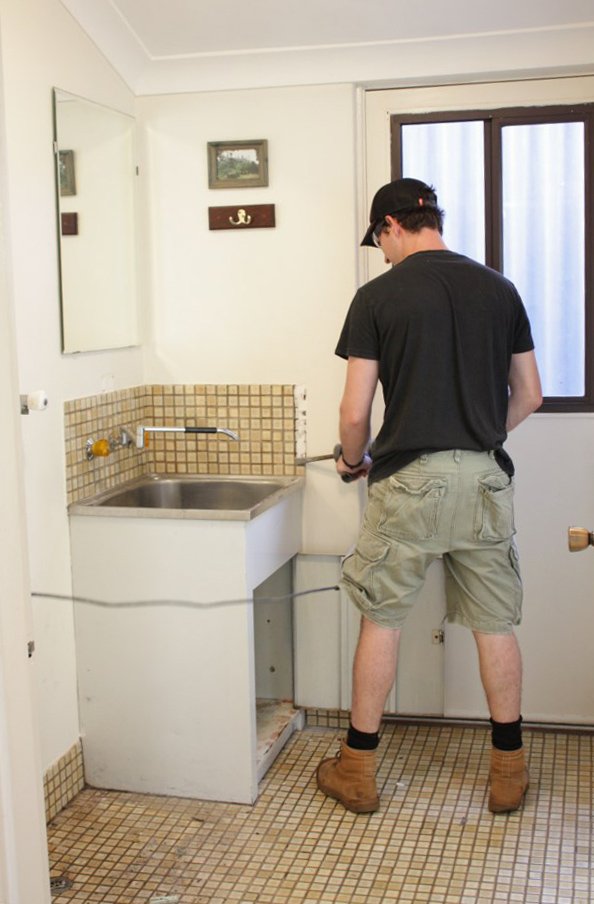
But on the plus side, after the cupboards had been sitting there for a few weeks, and the plumber was over to work on the bathroom the other day, the renovating stars aligned and Mr Nerd and Gerard the plumber decided, might as well get started on the laundry now. Mr Nerd started gutting the laundry the same day.
He is still not completely enthused about it, and I know it’s a sneaky thing to do, but can I just tell you, I feel like jumping for joy when I think about the day when our laundry is done and I can organise everything into those beautiful new wall cupboards and alphabetise all our cleaning products.
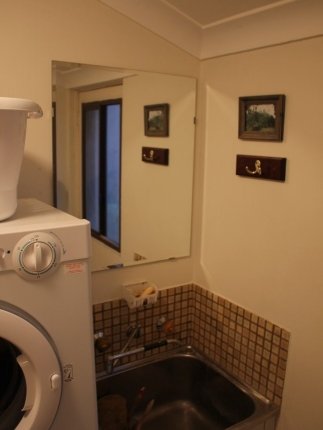
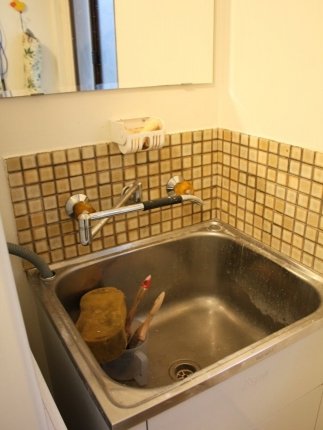
AHH! I can’t wait to have real laundry storage. Here’s what our 1970s laundry was like for four years. You will understand why I am looking forward to it getting a facelift!
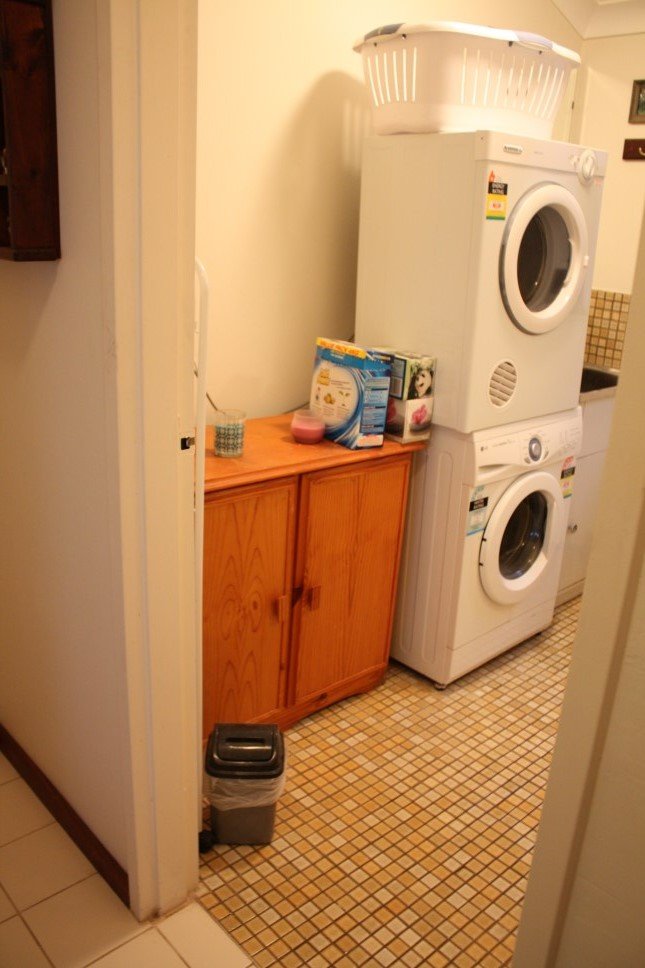
ABOVE: Our current laundry storage is a pine hand-me-down cupboard that has followed me around since I was a teenager. It's a bit rotted on the bottom but I think I might try to spruce it up a bit and use it elsewhere in the house.
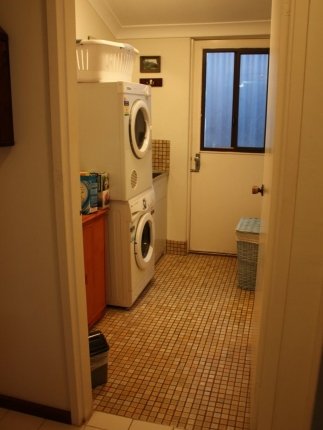

WORK IN PROGRESS: The laundry now. We are going to have a benchtop going all the way across that wall and locate the dryer and washer beneath. Storage will be white wall-mounted cupboards. The cupboards will be quite simple and plain - glossy white MDF - but I'll quirk the room up in other ways!
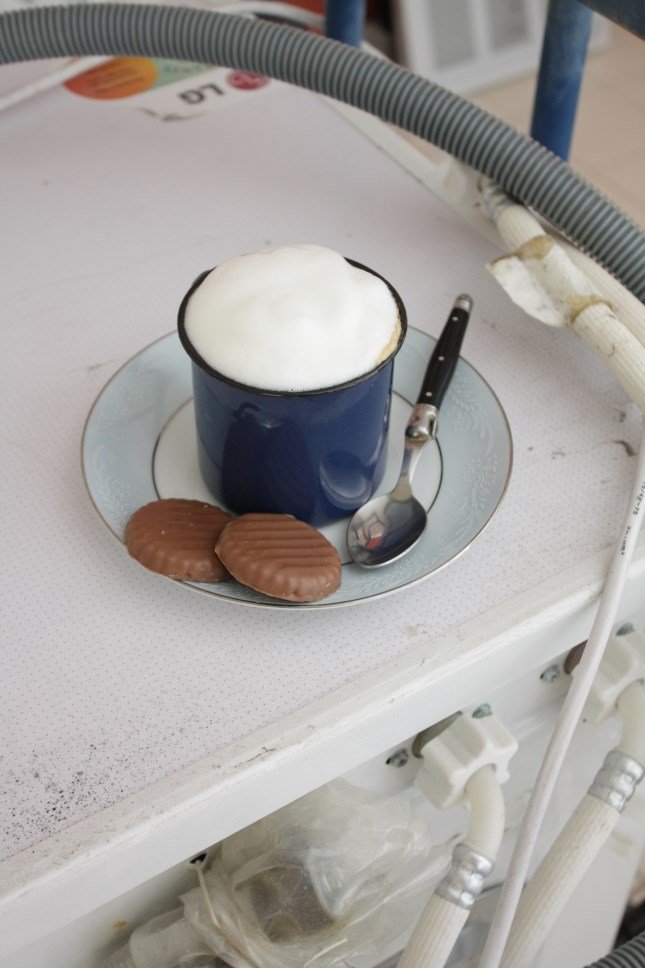
Chocolate says, 'I'm sorry for passive aggressively buying laundry cupboards so you have to do more renovation work on your weekends'. But seriously, I am very lucky to have a husband who is happy to do all this hard work... after some light grumbling that is.
Do you have a daggy old laundry like ours? Have you renovated it? Or do you plan to? And er, have you ever put into place something around the house without your partner’s permission? How did you make it up to them? I like to meekly bring Mr Nerd a stream of ‘offerings’ while he is slaving away, like coffee and Caramel Crowns. Maya x


