
When I was in Year 7, a total book nerd, and the only girl in my primary school class who didn't have reason to wear a trainer bra yet, I went to an orientation day at my future high school. I was petrified. I went from a school that had 200 kids to one that had 1500. It was huge and confusing, there were too many scary people, and everyone Year 9 and older seemed so cool and so old, and they all laughed all the time in an carefree, offhand manner that scared the crap out of me.
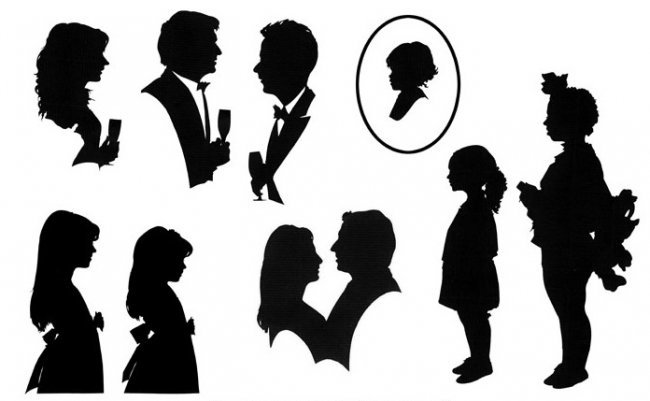
A PERFECT LIKENESS: Some silhouettes cut by incredible roving silhouette artist Charles Burns, who can cut silhouettes in a matter of moments and has done portraits of the Queen and the Duke of Edinburgh. You can hire him for parties to cut silhouettes of your guests, which I think would be very cool for costume parties. Wish he was based in Perth!
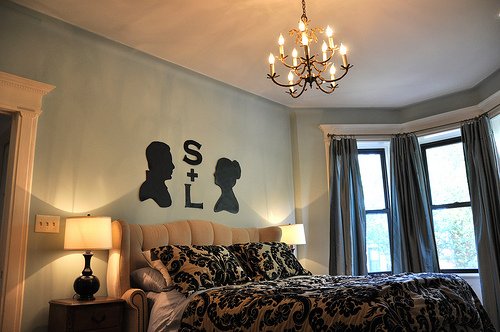
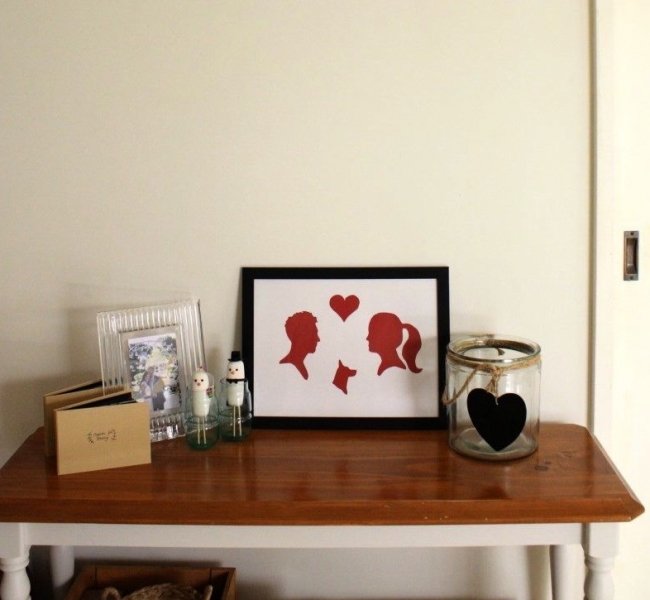
Silhouette art from one of my fave house blogs ever, Brooklyn Limestone.
Most of the kids in the orientation class did their own faces. I did a horse. One of the Year 12 students leading our orientation group was an effortlessly cool, gum-chewing 17-year-old girl with a smattering of acne across her forehead. She seemed so tall and old and sophisticated. She picked up my horse picture. “Wow, you didn’t have to trace this?” she said, snapping her gum, and I nodded, tongue-tied. “This is really cool,” she said, and I instantly adored her and went home happy, because the cool Year 12 girl PRETTY MUCH said I was cool. INSTA GIRL CRUSH.
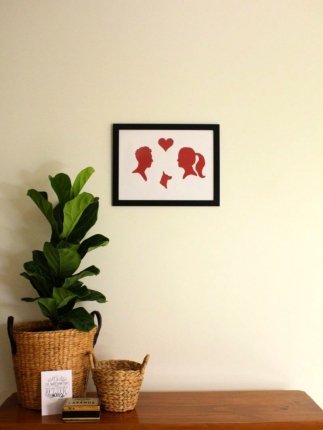
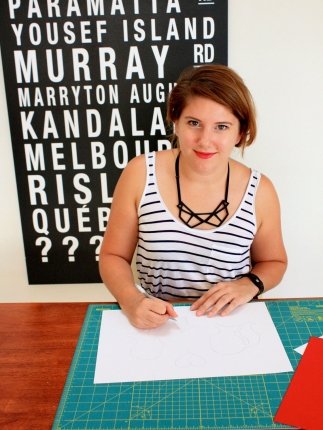
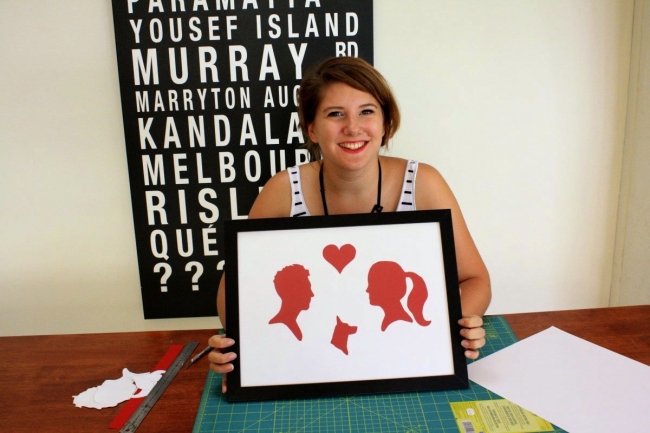
So silhouette pictures bring back happy memories for me and when today’s Guest Nerd suggested demonstrating How-To on how to make a silhouette picture, I was all for it (also, I had forgotten how to do it). Today’s guest nerd is Lisa Hannaford, a freelance designer who lectures in spatial design, works in interior styling, blogs at her personal blog Leesa Weesa and in her spare time is handy with a scalpel (in a Frankie-style crafty rather than Dexter way). Here is Lisa and the silhouette art she created of me and Mr Nerd! (and the ever-present Nala).
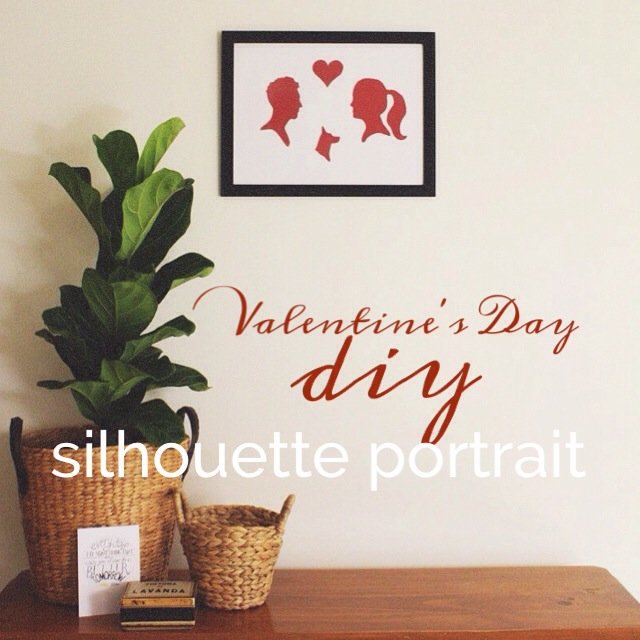
With Valentine’s Day on this Friday (yes, I realise my female readers are all acutely aware of this while none of my male readers had the faintest clue so I have bolded this section for you) a silhouette picture is a really cute, personal and thoughtful gift to make for your beloved, if teddy bears clutching red satin hearts aren’t your thing. Over to Lisa...
DARE TO DIY: SILHOUETTE PICTURE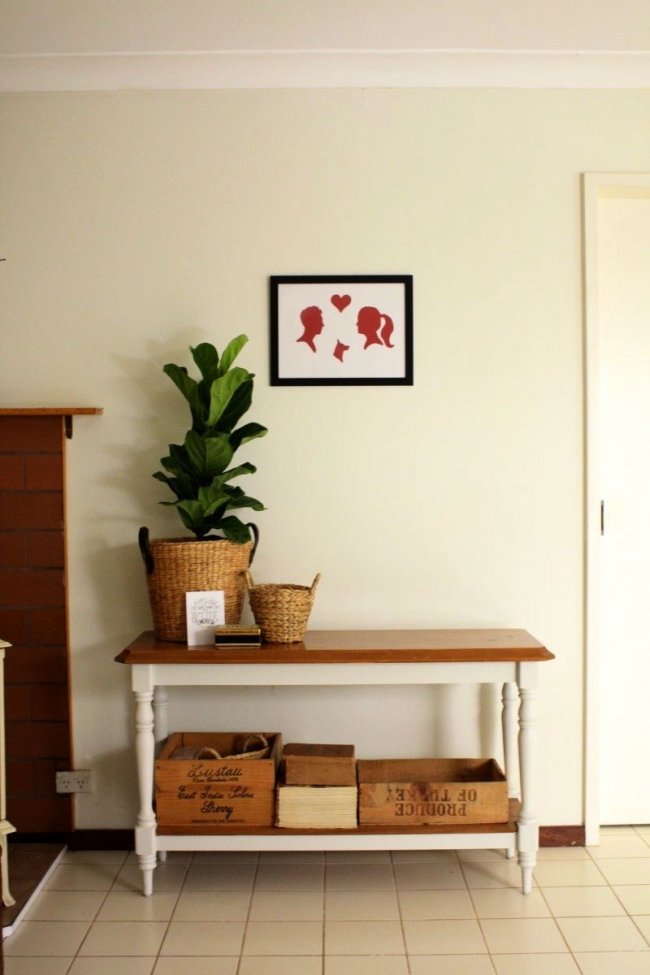
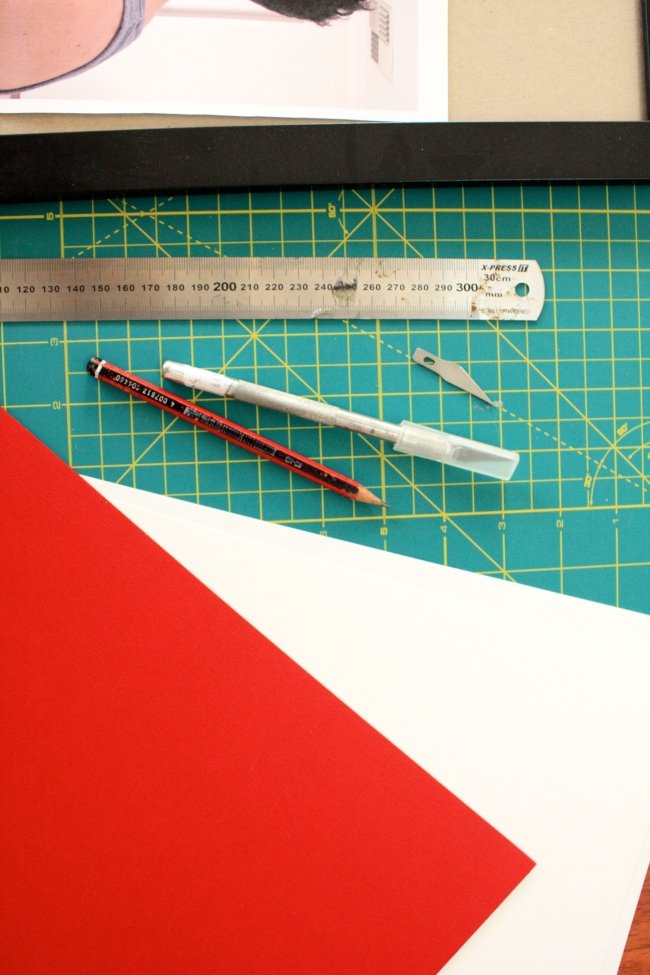
What You'll Need
- Photo frame (I used an IKEA Nyttja frame)
- Cutting mat
- Metal ruler
- Scalpel
- Lead pencil and black pen
- Masking tape
- Printed photos
- Three sheets of A4 white paper
- Sheet of white paper (the thicker the better) trimmed to the size of your frame
- One piece of coloured or black card. We used red for Valentine's Day
- Note: I’m using a cutting mat purchased for patchwork quilting and it’s about an A2 size. These can get pretty pricey so consider a smaller mat if you’re not going to use it much. You can get them as small as A5 for a much cheaper price, as well as the scalpel, from somewhere like Jacksons Art Supplies or Riot Art & Craft.
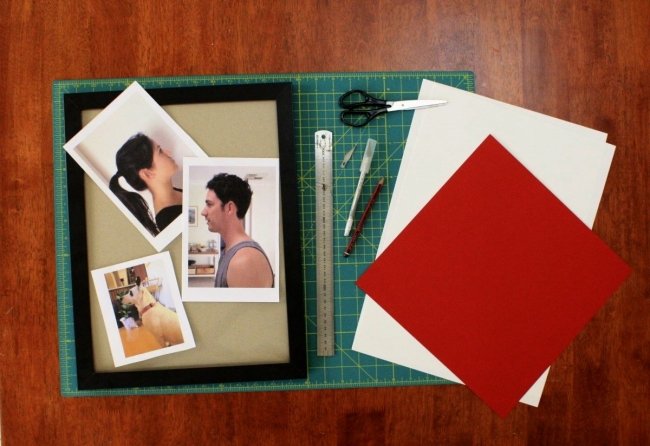
Step 1.
Take your profile photos. I asked Maya to take some profile photos of herself, Mr Nerd and Nala the dog! Using Preview, I chose a good size to print them via the print options. Take the photos so that you’re facing toward each other, but if you forget, you can always flip them in Preview. Try to take the photos from the same distance away, and from a straight angle, as one of you may end up with a monstrous head!
Step 2.
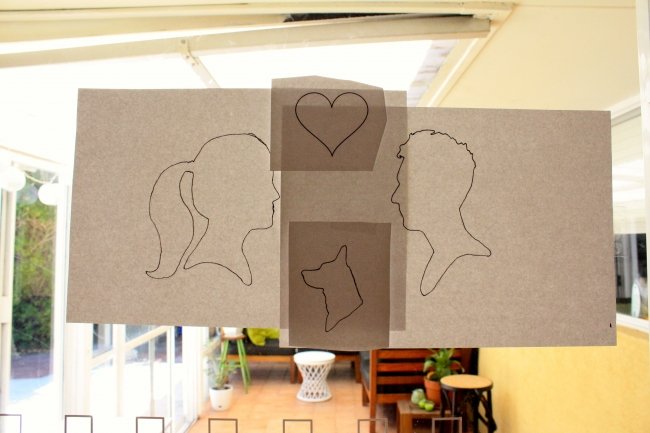
Add in any extras you like. We used a small heart shape. If you have more than one pet that you want to show, consider skipping the heart and having another pet at the top, or get creative and see what works.
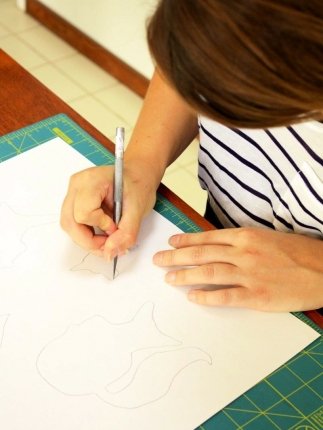
Step 3.
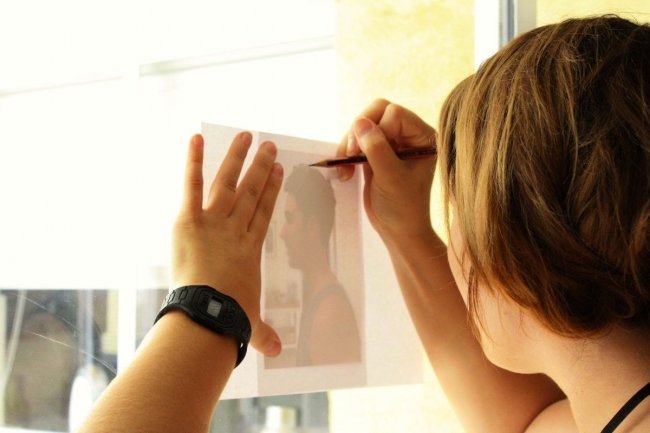
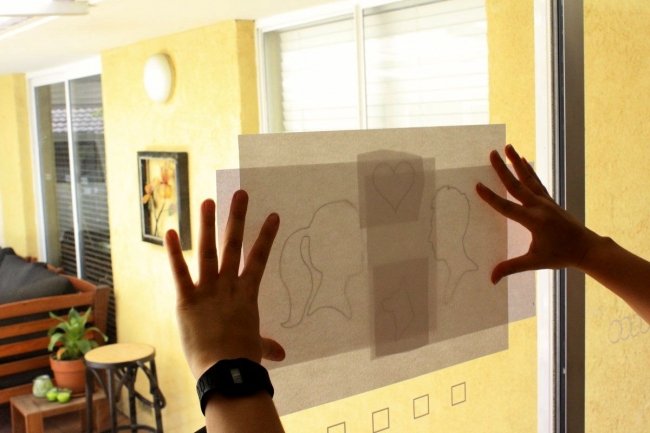
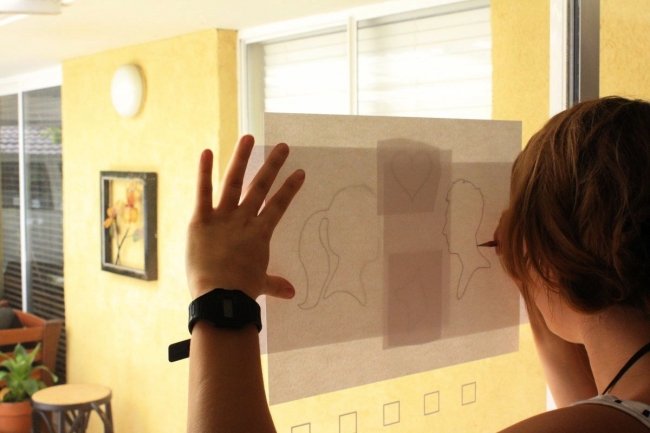
Hold each picture up to the window and place a blank sheet of paper over it. Then trace each head onto a blank sheet. This allows you to clearly get the shape and really makes the process easier.
Step 4.
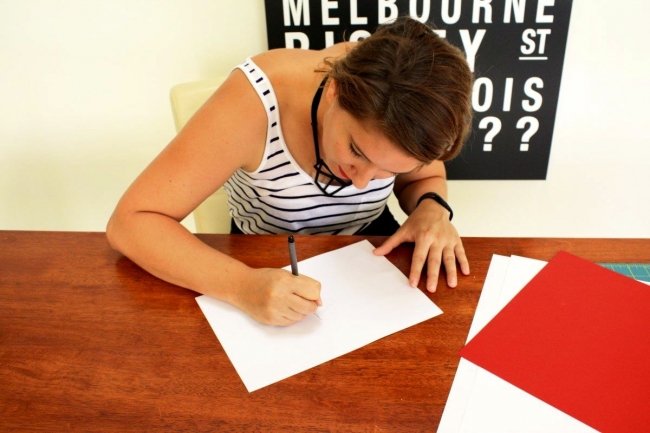
After tracing each picture, go over the line with a black pen to make a bold line and trim the page down.
Step 5.
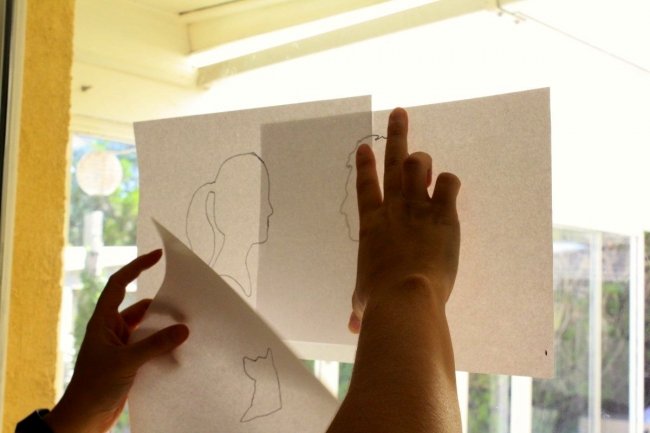
Head back to the window and arrange the profiles to how you would like them to appear. Try to align your heads so that they’re looking at each other with enough space in between to fit your pet and the heart shape. Tape these down with masking tape once you’ve got your configuration. Make sure they all fit nicely within your picture frame by taking the backing out of the frame and holding it over the shapes.
Step 6.
When tracing from the neck down, come down the chest a bit and then arc back up to the back with a nice curve to create a bust profile. Men usually show more of the chest than the ladies, modesty and all that. Ladies generally look best with a mid-ponytail, as a bun looks like an awkward tumour and nothing makes you look bald. No one wants that. Use your creative licence here, channel a preppy ‘50s style ‘do! (Leesa boofed up my hair a bit too. Volume I don't naturally have! Woohoo! Maya)
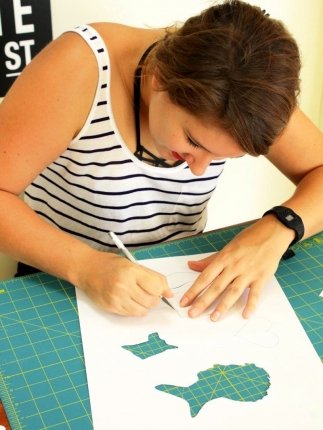
Step 7.
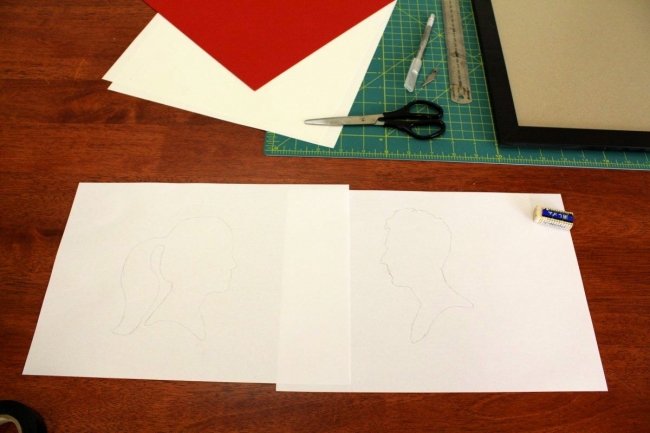
Using your pencil again, trace over the shapes so they appear on your large piece of paper. Try to draw lightly but dark enough so that you can see the lines later.
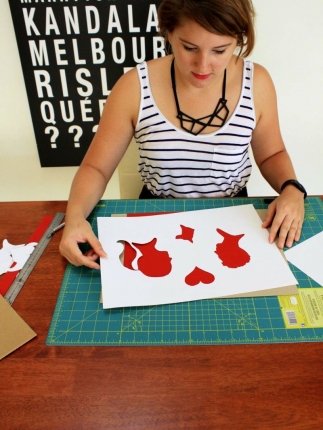
Step 8.
Using your cutting mat and scalpel, press gently into the lines and drag the scalpel towards you to cut. Sometimes turning the sheet around helps, or sticking your elbow out to navigate around corners. If you hold the scalpel like you would a pen, and press lightly, you should see it start to slice through. Make sure you keep your other fingers well out of the way or this will turn into a bloody Valentine (ho ho ho). Take your time and go carefully, as even a little overcut will end up changing the shape of the face dramatically.
Step 9.
Once you’ve cut the shapes out, flip the page over so your pencil lines don’t show and lay it over your coloured paper. Have a goooood look to make sure you’re happy with it. Then it’s simply a matter of signing and dating the corner and popping it into the frame! Happy Valentines!
Any exciting Valentine's Day plans, people? Mr Nerd will be away on a work trip so I think I'll be having a coffee catch-up with a girlfriend and eating a vast quantity of chocolate, why not. Maya x


